



Every Word Of It
Solar Shield Blinds Use & Maintenance Guide, in full
Thanks for trusting us with your home or commercial space! For over twenty years, style quality products, and an exceptional experience for our clients. Our vision is to bring elevated comfort to more people in more places through genuine friendliness, innovative solutions and by providing a YES experience.
With Solar Shield Blinds, you’ve got a partner for life!
Instructions for easy care and maintenance Directions for operating your new Solar Shield Blinds products Solar Shield Blinds Carefree Guarantee
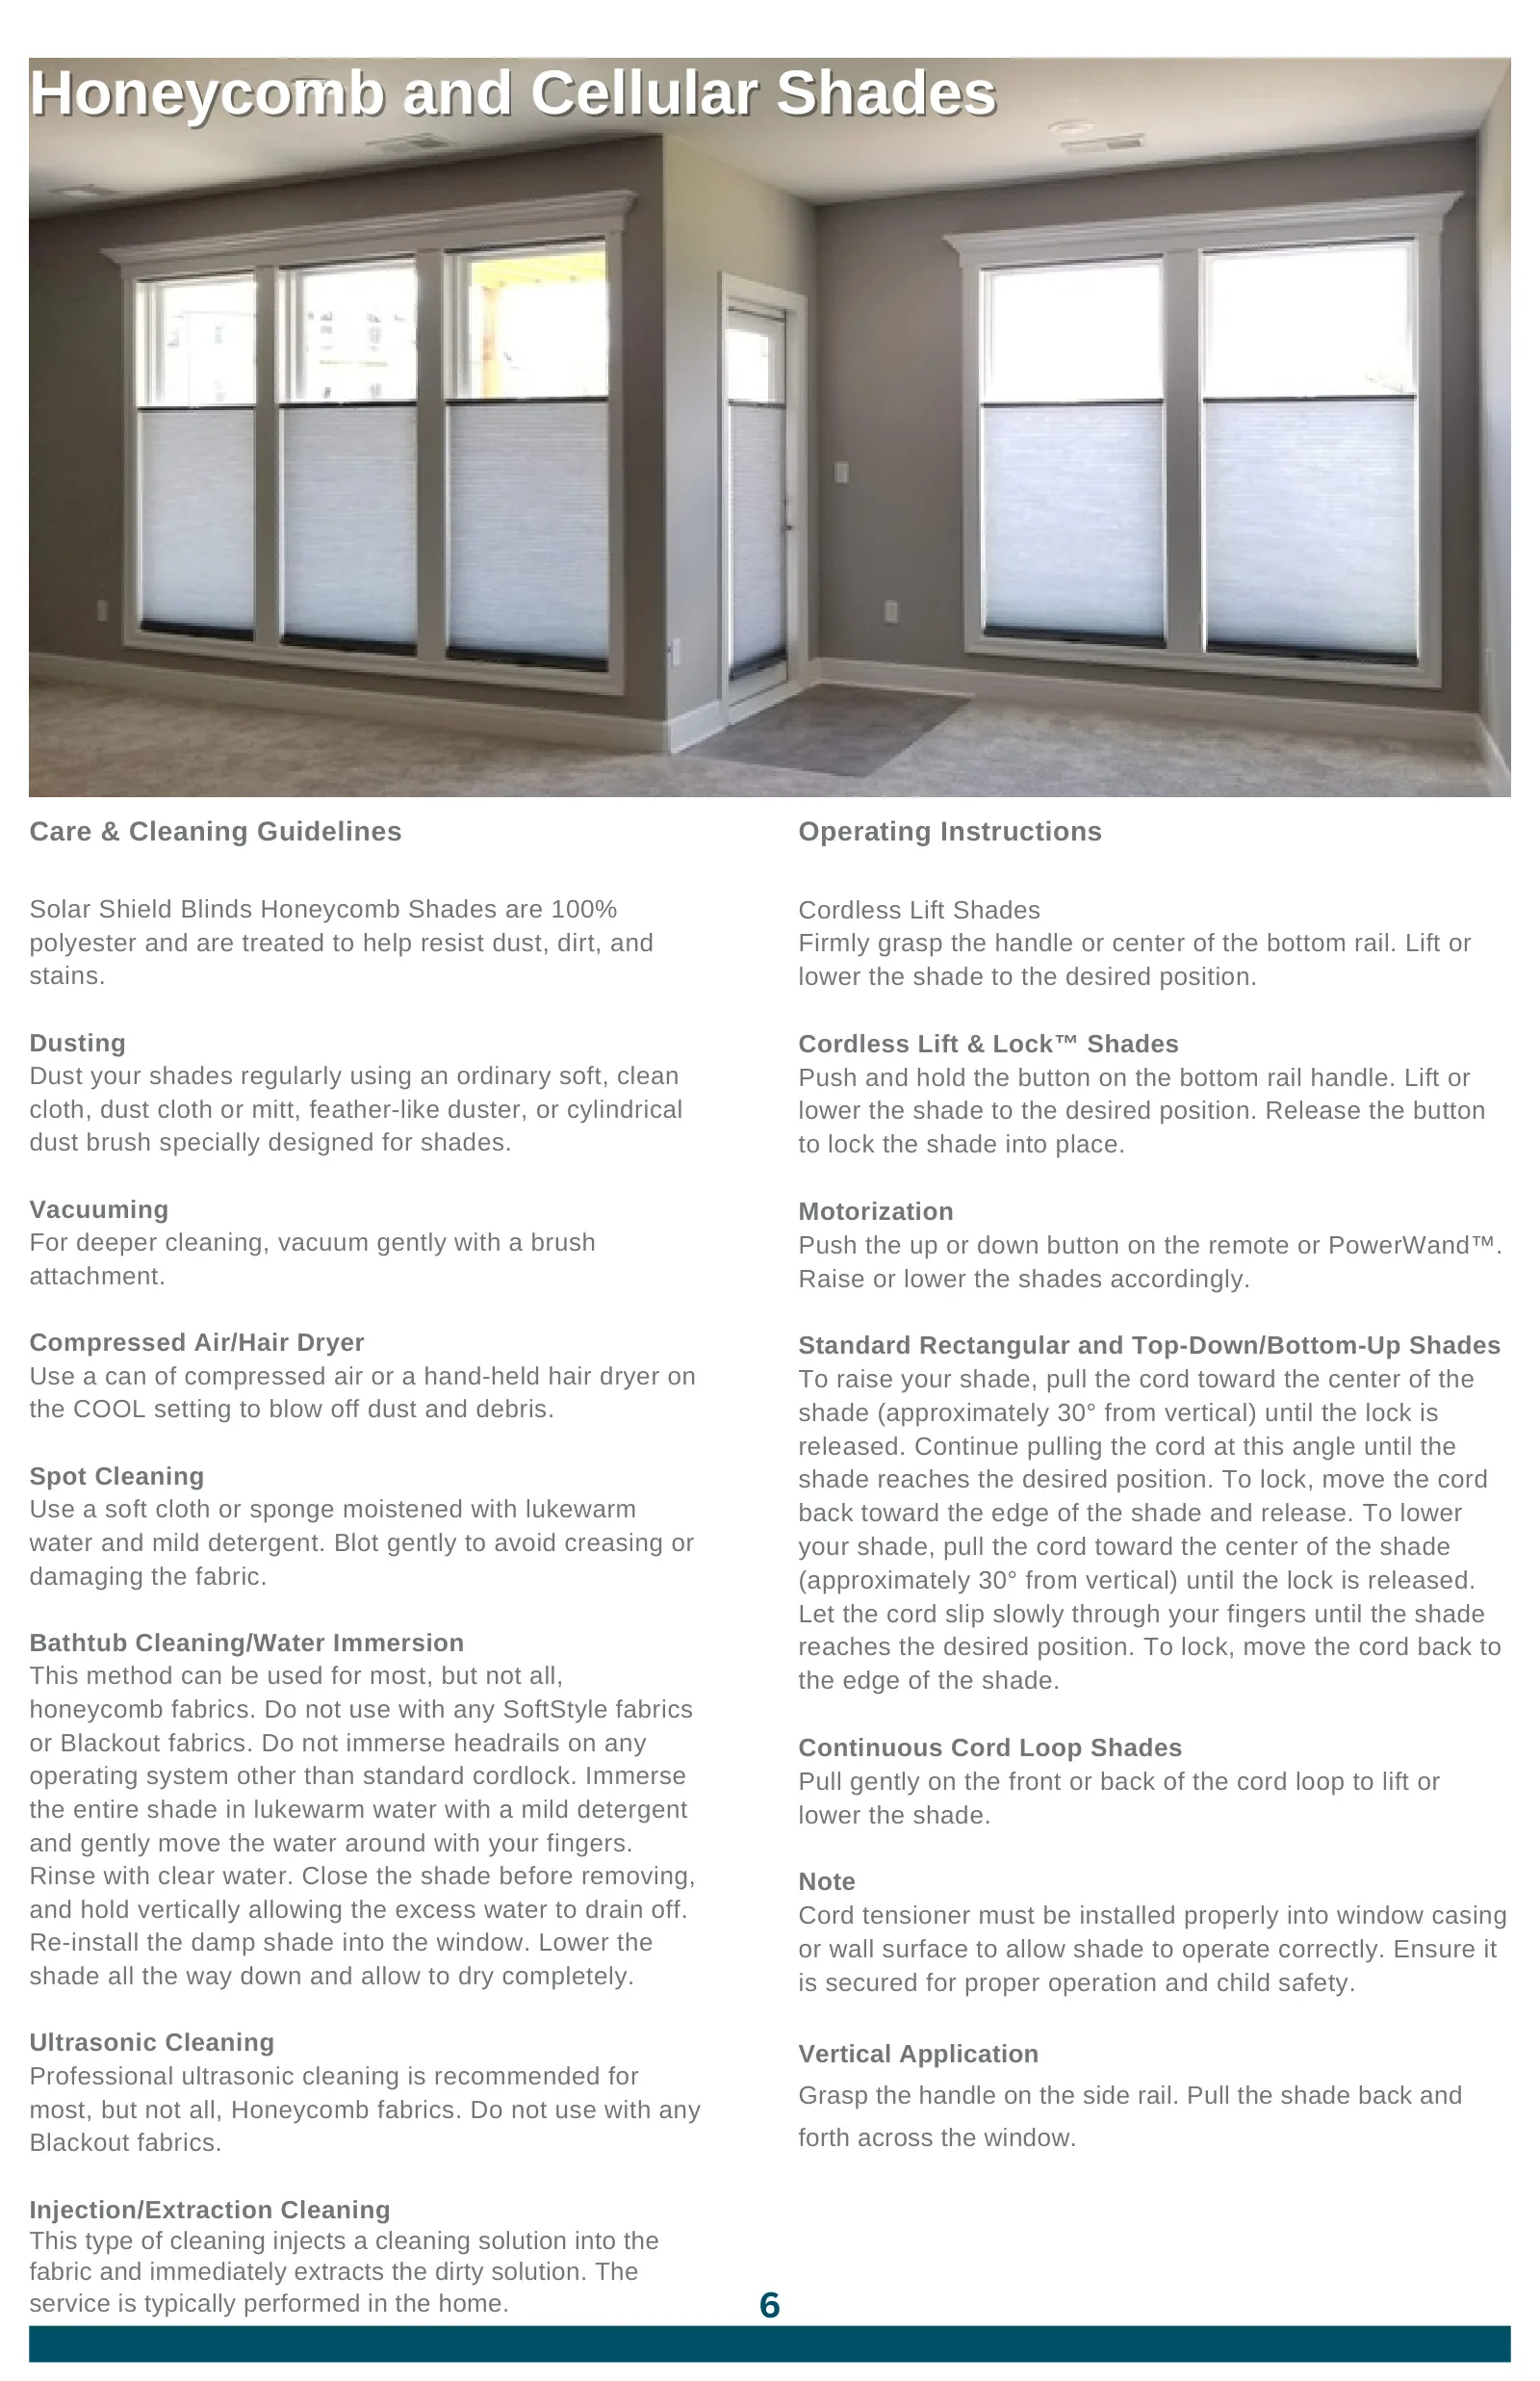
Solar Shield Blinds Honeycomb Shades are 100% polyester and are treated to help resist dust, dirt, and stains.
Dusting Dust your shades regularly using an ordinary soft, clean cloth, dust cloth or mitt, feather-like duster, or cylindrical dust brush specially designed for shades.
Vacuuming For deeper cleaning, vacuum gently with a brush attachment.
Compressed Air/Hair Dryer Use a can of compressed air or a hand-held hair dryer on the COOL setting to blow off dust and debris.
Spot Cleaning Use a soft cloth or sponge moistened with lukewarm water and mild detergent. Blot gently to avoid creasing or damaging the fabric.
Bathtub Cleaning/Water Immersion This method can be used for most, but not all, honeycomb fabrics. Do not use with any SoftStyle fabrics or Blackout fabrics. Do not immerse headrails on any operating system other than standard cordlock. Immerse the entire shade in lukewarm water with a mild detergent and gently move the water around with your fingers. Rinse with clear water. Close the shade before removing, and hold vertically allowing the excess water to drain off. Re-install the damp shade into the window. Lower the shade all the way down and allow to dry completely.
Ultrasonic Cleaning Professional ultrasonic cleaning is recommended for most, but not all, Honeycomb fabrics. Do not use with any Blackout fabrics.
Injection/Extraction Cleaning This type of cleaning injects a cleaning solution into the fabric and immediately extracts the dirty solution. The service is typically performed in the home.
Cordless Lift Shades Firmly grasp the handle or center of the bottom rail. Lift or lower the shade to the desired position.
Cordless Lift & Lock™ Shades Push and hold the button on the bottom rail handle. Lift or lower the shade to the desired position. Release the button to lock the shade into place.
Motorization Push the up or down button on the remote or PowerWand™. Raise or lower the shades accordingly.
Standard Rectangular and Top-Down/Bottom-Up Shades To raise your shade, pull the cord toward the center of the shade (approximately 30° from vertical) until the lock is released. Continue pulling the cord at this angle until the shade reaches the desired position. To lock, move the cord back toward the edge of the shade and release. To lower your shade, pull the cord toward the center of the shade (approximately 30° from vertical) until the lock is released. Let the cord slip slowly through your fingers until the shade reaches the desired position. To lock, move the cord back to the edge of the shade.
Continuous Cord Loop Shades Pull gently on the front or back of the cord loop to lift or lower the shade.
Note Cord tensioner must be installed properly into window casing or wall surface to allow shade to operate correctly. Ensure it is secured for proper operation and child safety.
Grasp the handle on the side rail. Pull the shade back and
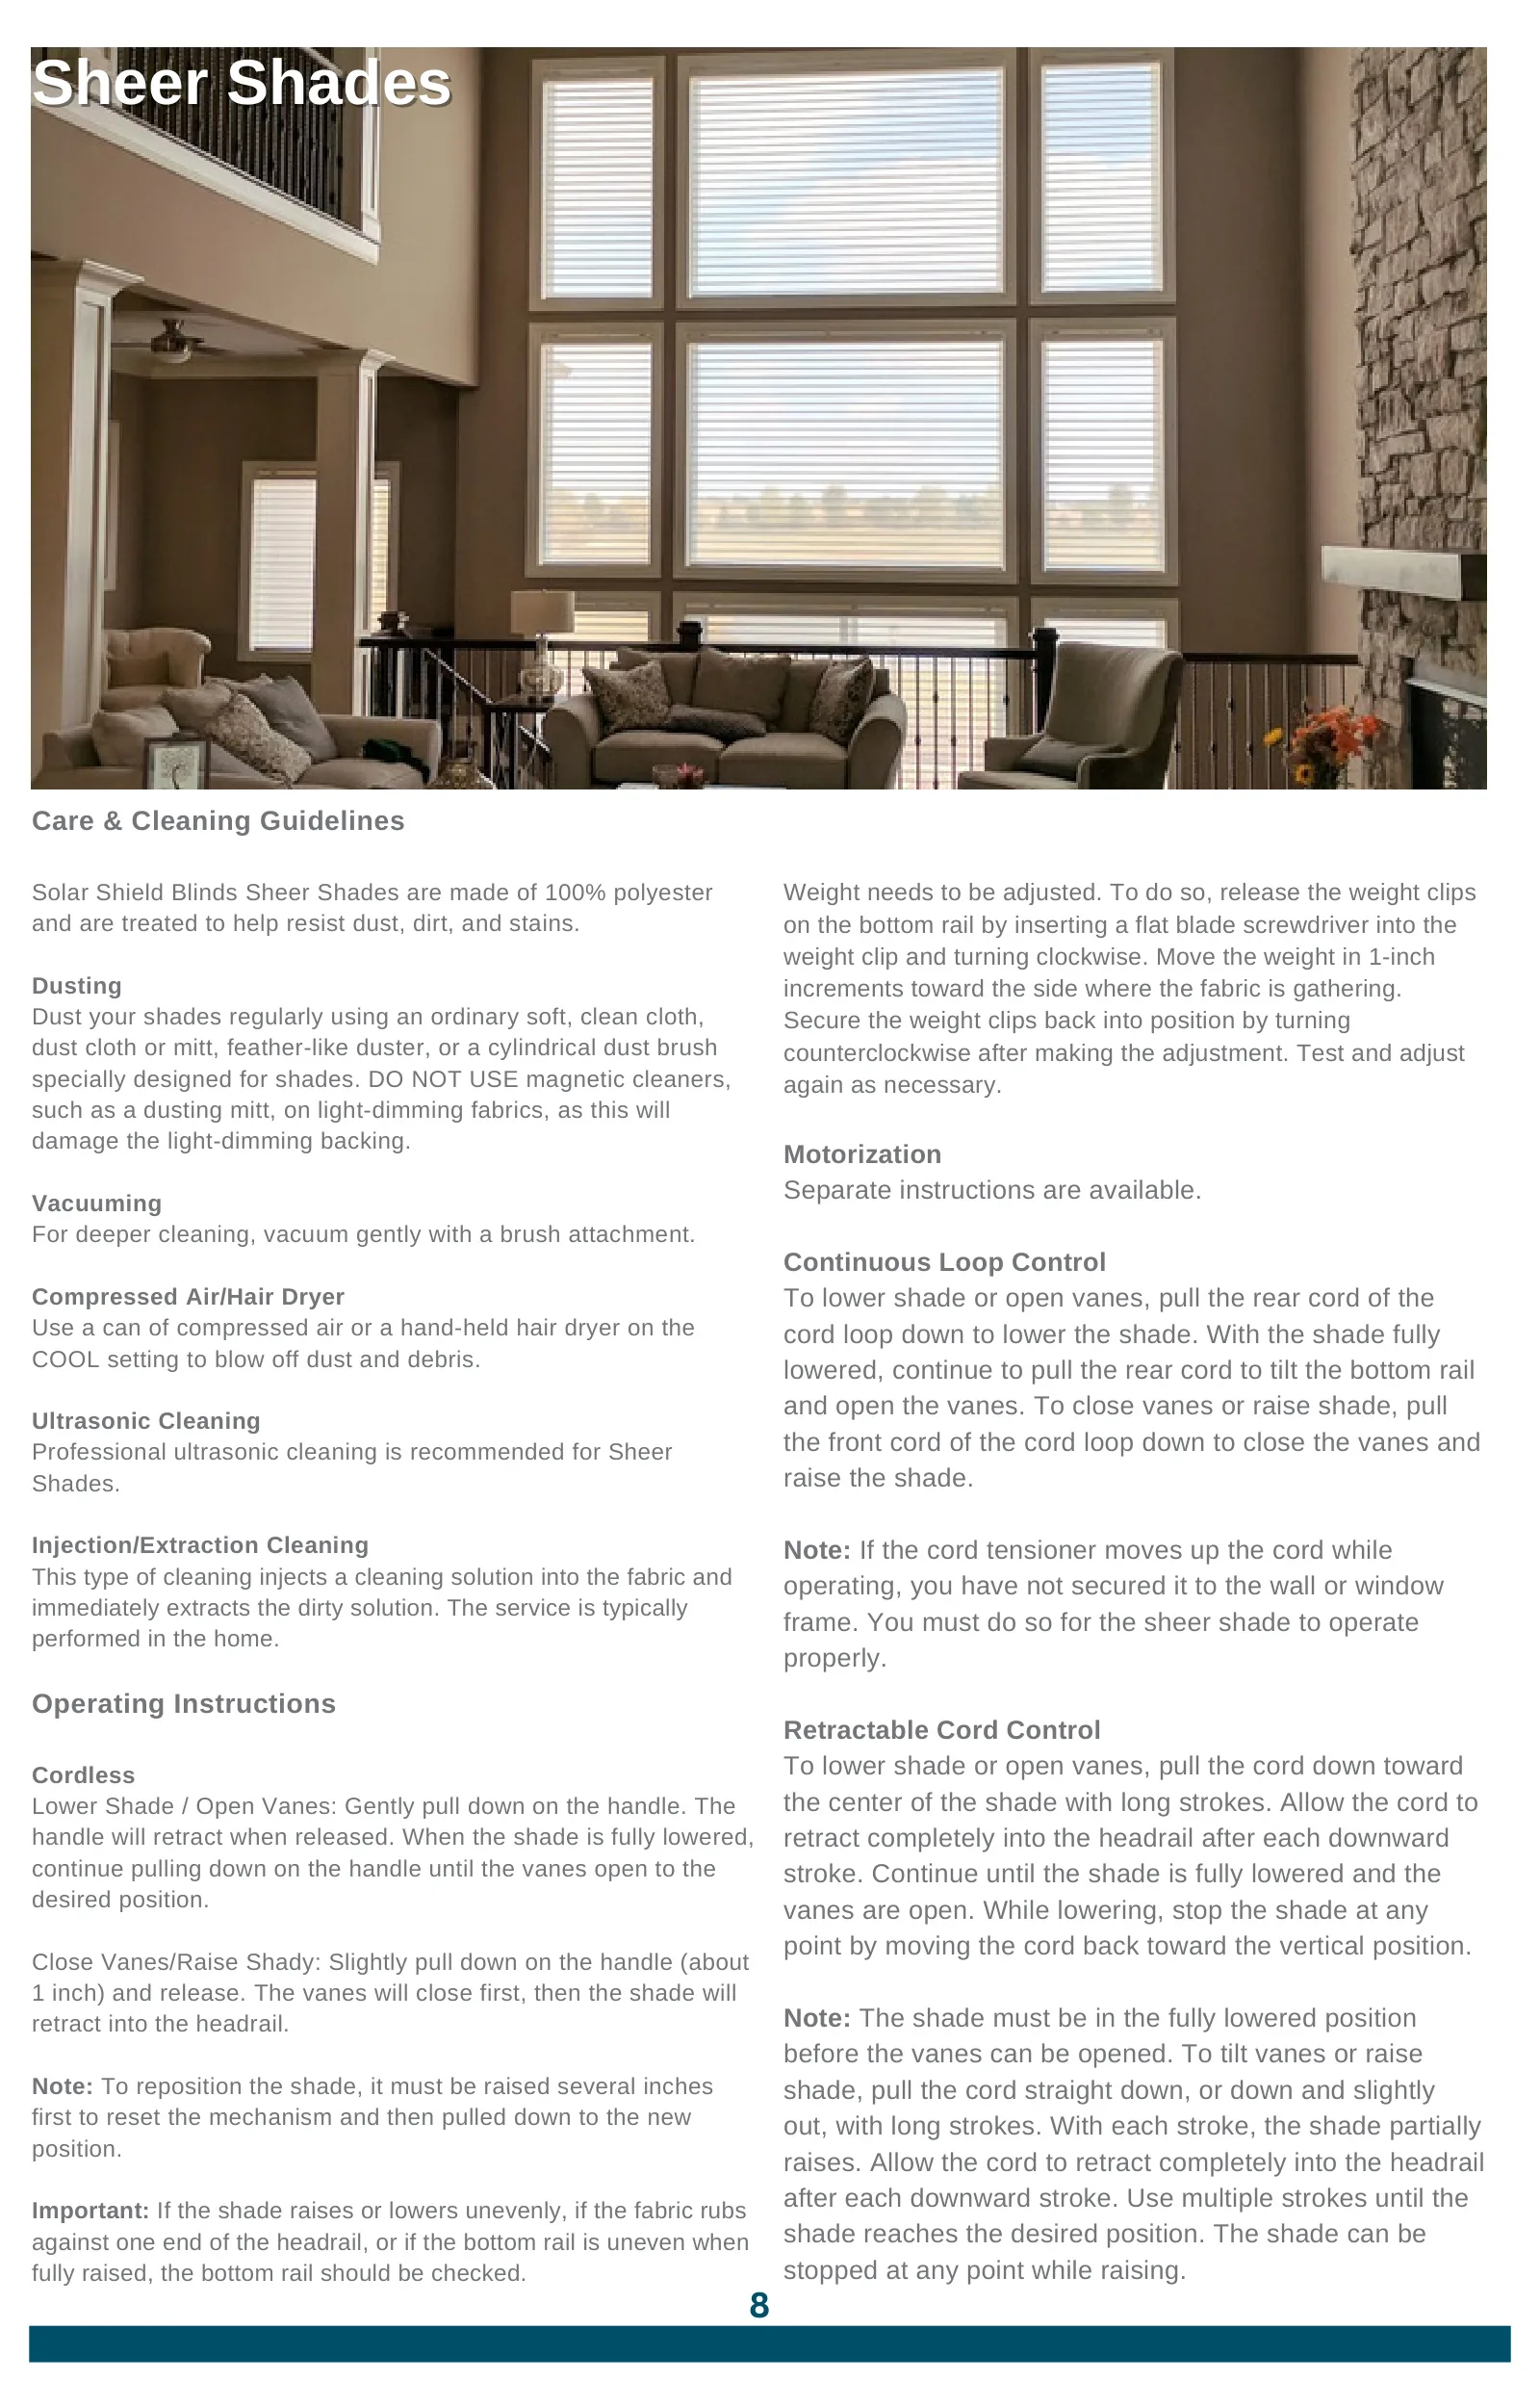
Honeycomb and Cellular Shades Honeycomb and Cellular Shades Honeycomb and Cellular Shades
Dusting Dust your blinds regularly using an ordinary soft, clean cloth, chemically-treated dust cloth or mitt, feather-like duster, or cylindrical dust brush specially designed for blinds.
Vacuuming For deeper cleaning, vacuum gently with a brush attachment.
Compressed Air/Hair Dryer Use a can of compressed air or a hand-held hair dryer on the COOL setting to blow off dust and debris.
Spot Cleaning Faux Wood Blinds only. Use a soft cloth or sponge moistened with lukewarm water and mild detergent if needed. DO NOT USE to clean Wood Blinds.
Bathtub Cleaning/Water Immersion Faux Wood Blinds without cloth tapes only. DO NOT USE to clean Wood Blinds.
Immerse the entire blind in lukewarm water with a mild detergent and gently move the water around with your fingers. Rinse with clear water. Close the blind before removing, and hold vertically allowing the excess water to drain off. Re-install the damp blind into the window. Lower the blind all the way down and allow to dry completely.
Aligning Your Blind: If slats are not aligned side to side, tilt the blind open, then raise and lower it several times. This will allow the cords and slats to align themselves.
Cordless Lift Blinds Firmly grasp the center of the bottom rail, then lift or lower the blind to the desired position.
Cordless Lift & Lock™ Blinds Push and hold the button on the bottom rail to lift or lower the blind. Release the button to lock the blind into place.
Motorization Press the button on the remote to tilt slats open and closed.
Standard Blinds Tilting the Slats: Twist the tilt wand until the slats reach the desired position.
Raising Your Blind Ensure slats are in the open position, then pull the lift cord downward until the blind reaches the desired height. Release the cord, and the blind will automatically lock into place.
Lowering Your Blind Gently pull the cord toward the center of the blind until the lock releases. Let the cord slip slowly through your fingers until the blind reaches the desired height. Move the cord toward the outside of the blind and release. The blind will automatically lock into place.
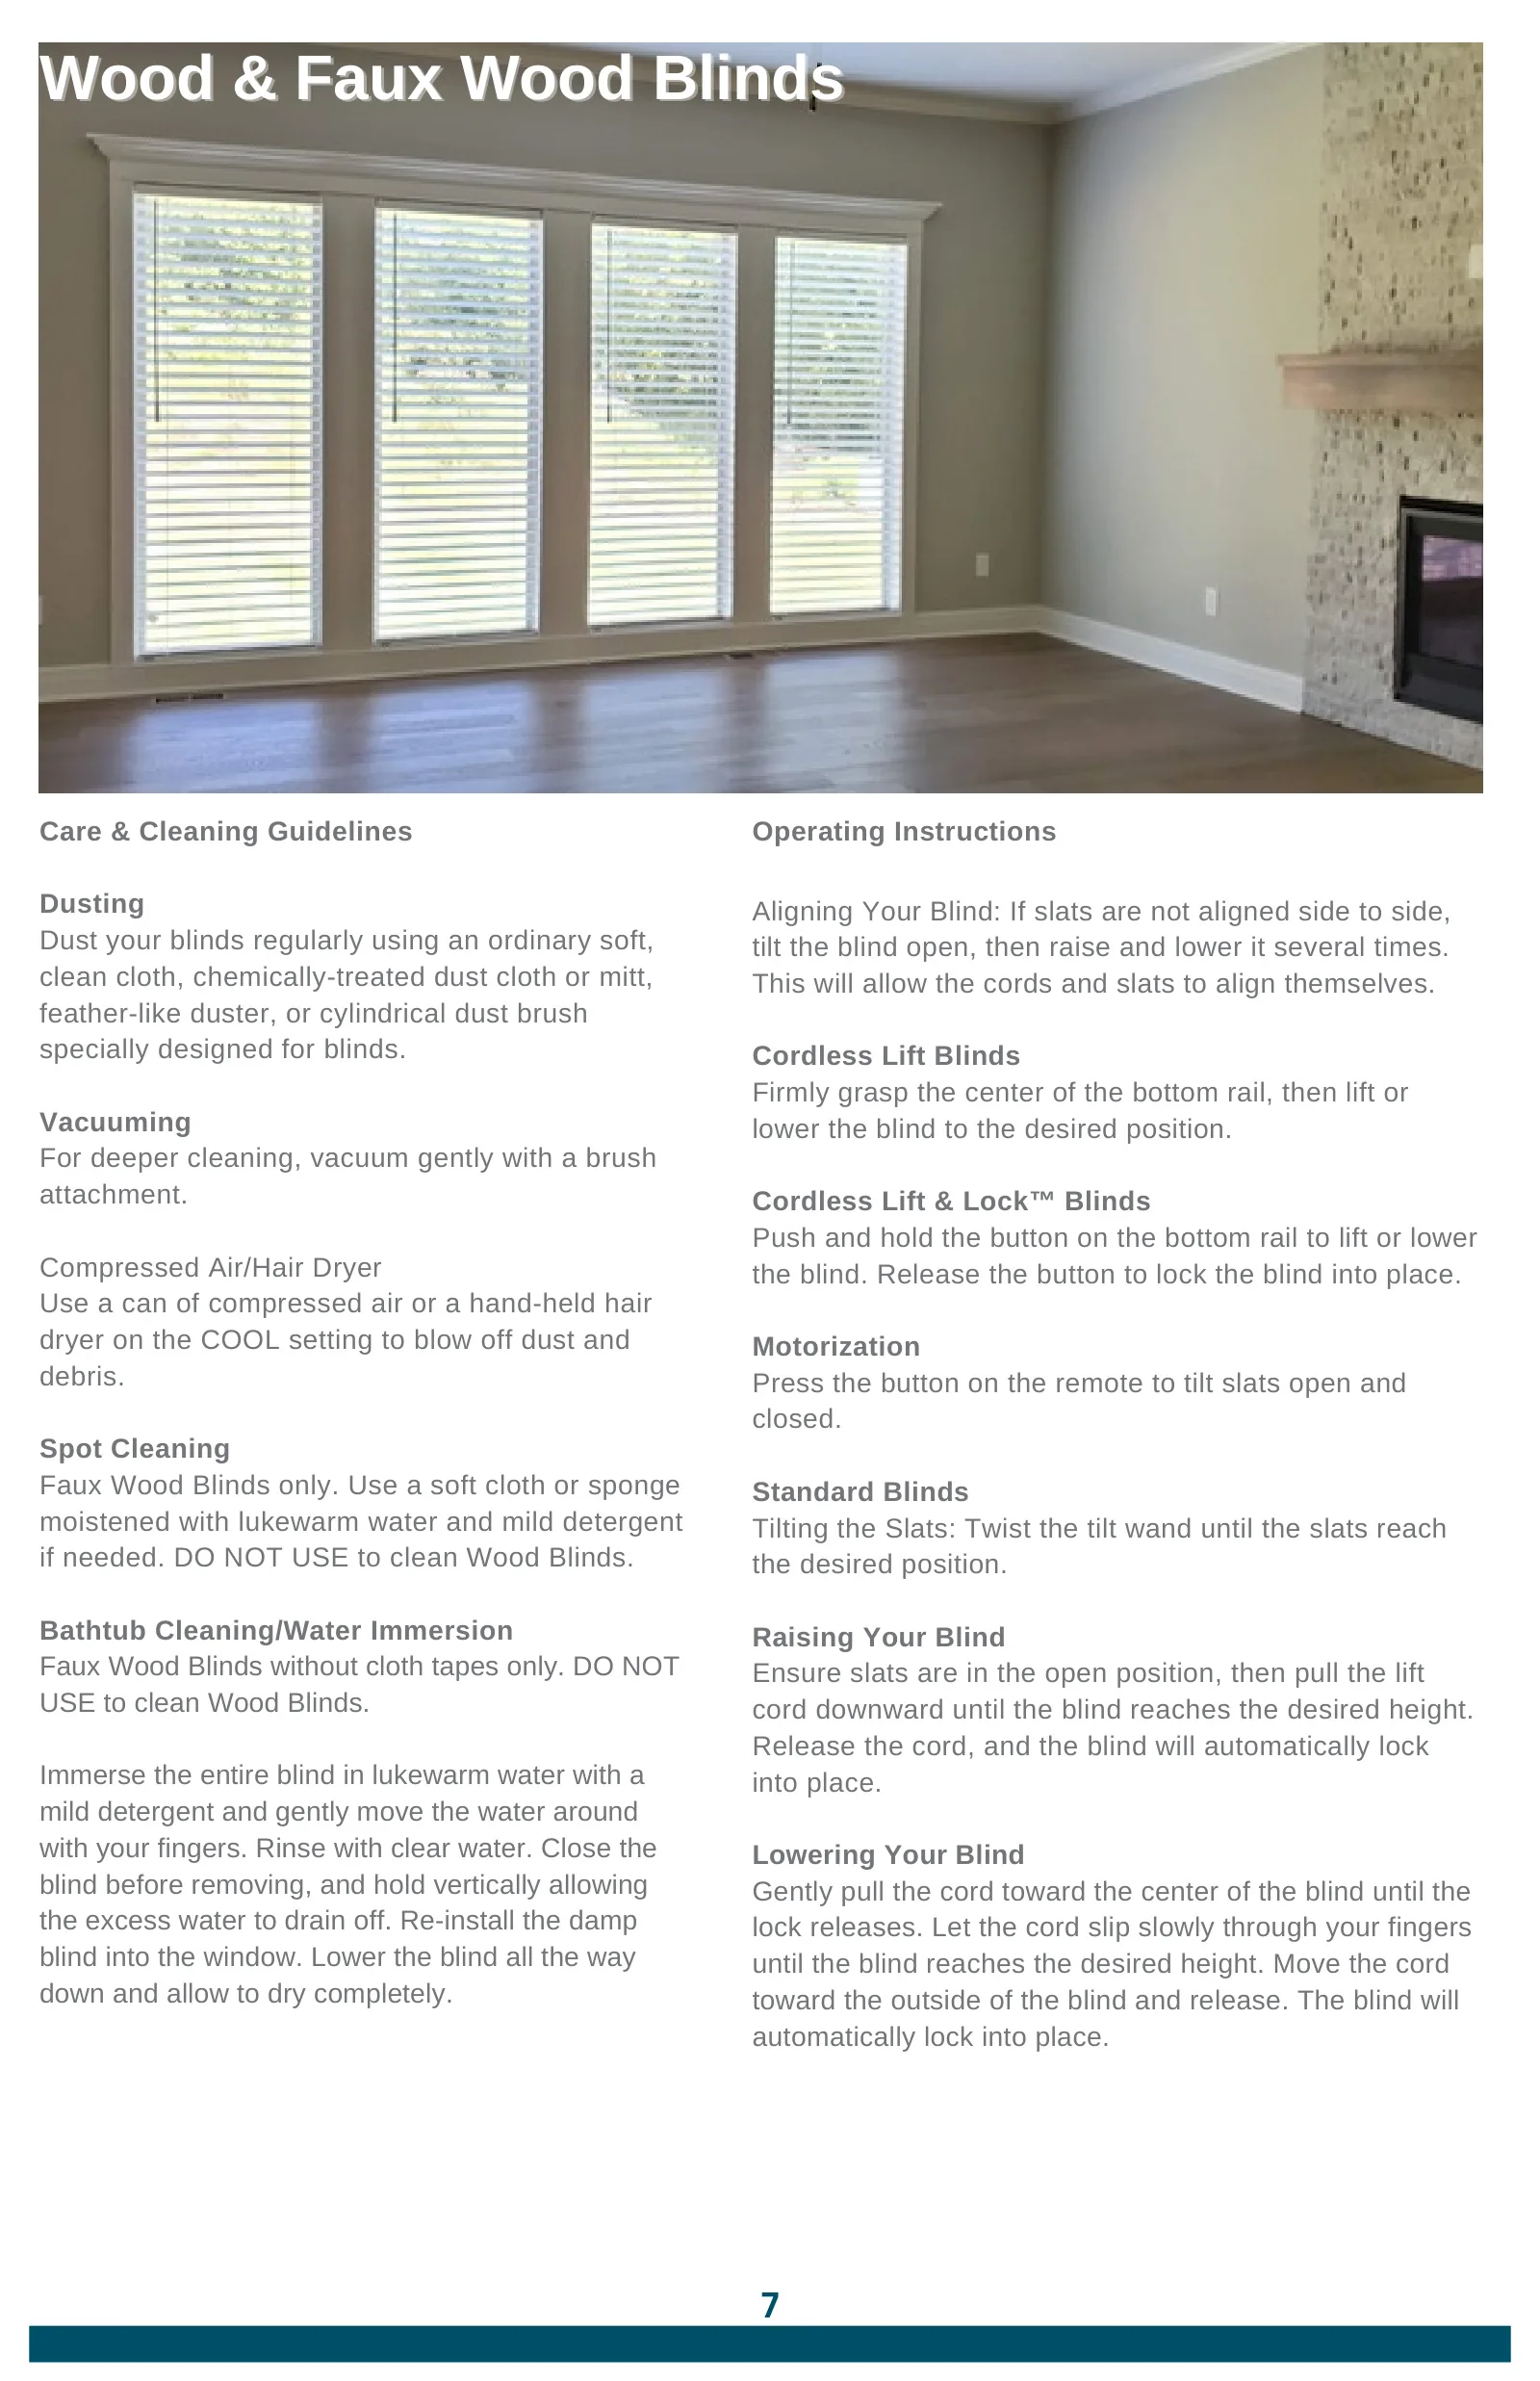
Wood & Faux Wood Blinds Wood & Faux Wood Blinds Wood & Faux Wood Blinds
Cordless Lower Shade / Open Vanes: Gently pull down on the handle. The handle will retract when released. When the shade is fully lowered, continue pulling down on the handle until the vanes open to the desired position.
Close Vanes/Raise Shady: Slightly pull down on the handle (about 1 inch) and release. The vanes will close first, then the shade will retract into the headrail.
Note: To reposition the shade, it must be raised several inches first to reset the mechanism and then pulled down to the new position.
Important: If the shade raises or lowers unevenly, if the fabric rubs against one end of the headrail, or if the bottom rail is uneven when fully raised, the bottom rail should be checked.
Solar Shield Blinds Sheer Shades are made of 100% polyester and are treated to help resist dust, dirt, and stains.
Dusting Dust your shades regularly using an ordinary soft, clean cloth, dust cloth or mitt, feather-like duster, or a cylindrical dust brush specially designed for shades. DO NOT USE magnetic cleaners, such as a dusting mitt, on light-dimming fabrics, as this will damage the light-dimming backing.
Vacuuming For deeper cleaning, vacuum gently with a brush attachment.
Compressed Air/Hair Dryer Use a can of compressed air or a hand-held hair dryer on the COOL setting to blow off dust and debris.
Ultrasonic Cleaning Professional ultrasonic cleaning is recommended for Sheer Shades.
Injection/Extraction Cleaning This type of cleaning injects a cleaning solution into the fabric and immediately extracts the dirty solution. The service is typically performed in the home.
Weight needs to be adjusted. To do so, release the weight clips on the bottom rail by inserting a flat blade screwdriver into the weight clip and turning clockwise. Move the weight in 1-inch increments toward the side where the fabric is gathering. Secure the weight clips back into position by turning counterclockwise after making the adjustment. Test and adjust again as necessary.
Continuous Loop Control To lower shade or open vanes, pull the rear cord of the cord loop down to lower the shade. With the shade fully lowered, continue to pull the rear cord to tilt the bottom rail and open the vanes. To close vanes or raise shade, pull the front cord of the cord loop down to close the vanes and raise the shade.
Note: If the cord tensioner moves up the cord while operating, you have not secured it to the wall or window frame. You must do so for the sheer shade to operate properly.
Retractable Cord Control To lower shade or open vanes, pull the cord down toward the center of the shade with long strokes. Allow the cord to retract completely into the headrail after each downward stroke. Continue until the shade is fully lowered and the vanes are open. While lowering, stop the shade at any point by moving the cord back toward the vertical position.
Note: The shade must be in the fully lowered position before the vanes can be opened. To tilt vanes or raise shade, pull the cord straight down, or down and slightly out, with long strokes. With each stroke, the shade partially raises. Allow the cord to retract completely into the headrail after each downward stroke. Use multiple strokes until the shade reaches the desired position. The shade can be stopped at any point while raising.
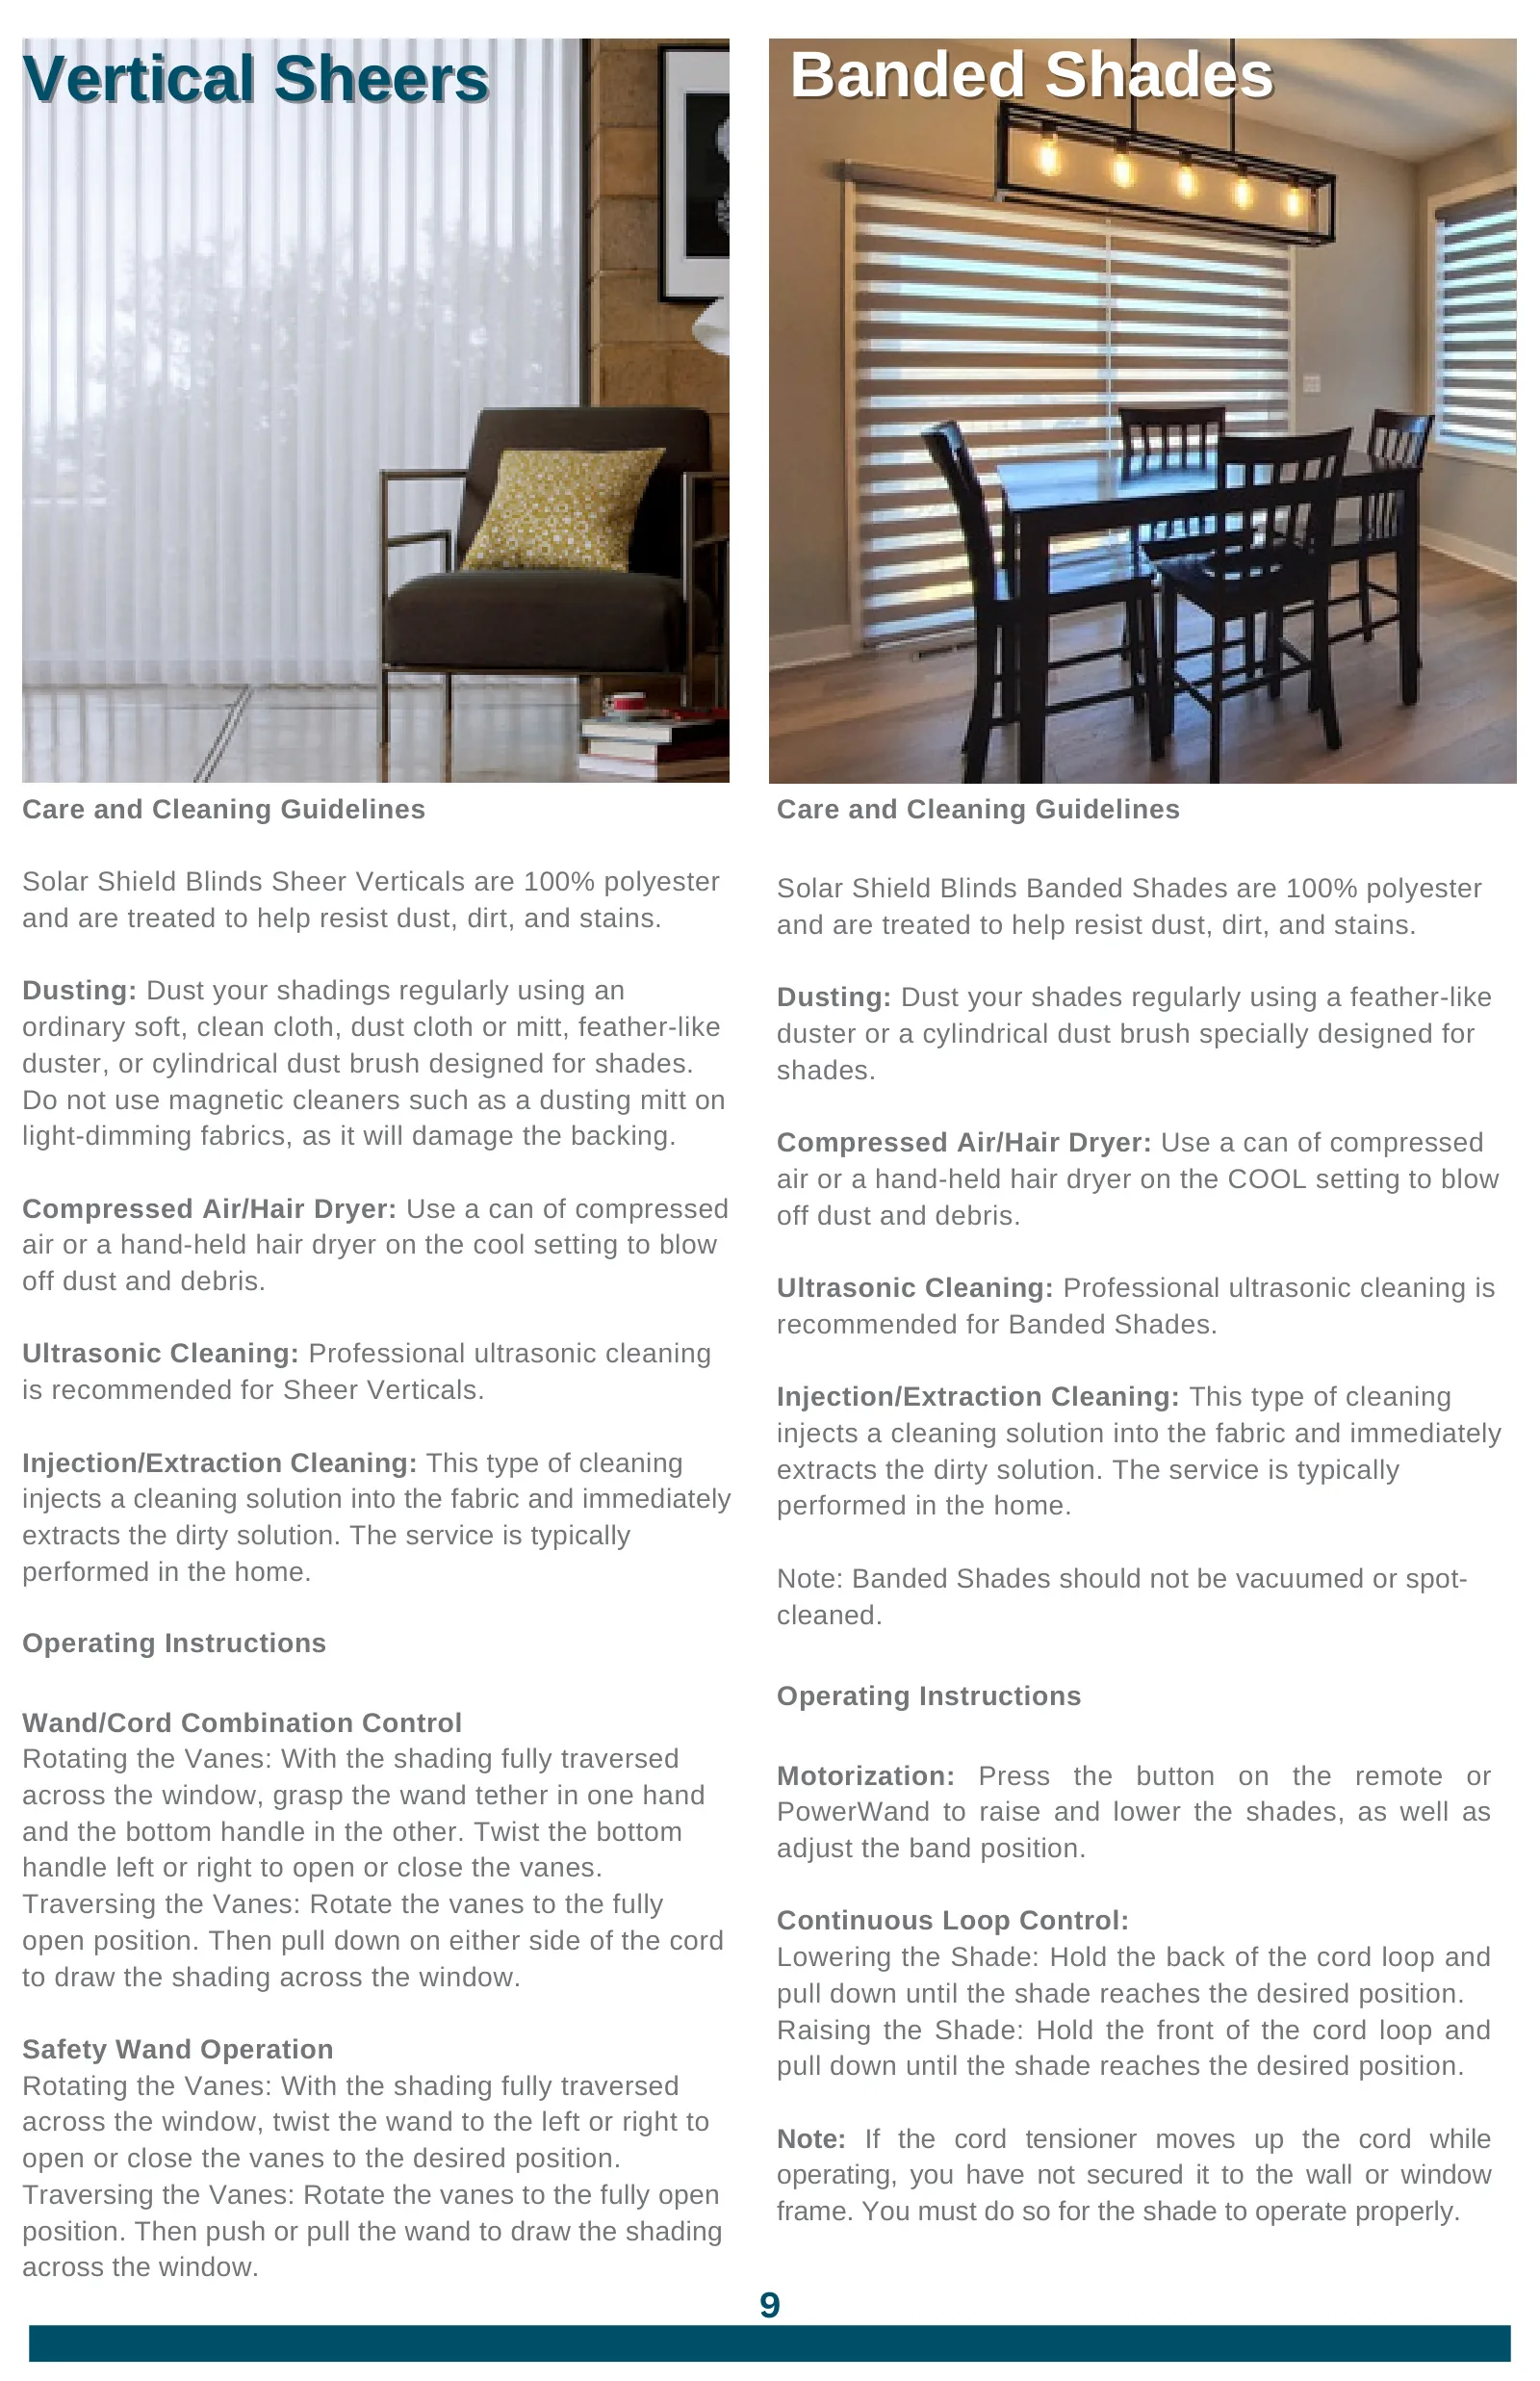
Vertical Sheers Vertical Sheers Vertical Sheers Banded Shades Banded Shades Banded Shades
Wand/Cord Combination Control Rotating the Vanes: With the shading fully traversed across the window, grasp the wand tether in one hand and the bottom handle in the other. Twist the bottom handle left or right to open or close the vanes. Traversing the Vanes: Rotate the vanes to the fully open position. Then pull down on either side of the cord to draw the shading across the window.
Safety Wand Operation Rotating the Vanes: With the shading fully traversed across the window, twist the wand to the left or right to open or close the vanes to the desired position. Traversing the Vanes: Rotate the vanes to the fully open position. Then push or pull the wand to draw the shading across the window.
Solar Shield Blinds Sheer Verticals are 100% polyester and are treated to help resist dust, dirt, and stains.
Dusting: Dust your shadings regularly using an ordinary soft, clean cloth, dust cloth or mitt, feather-like duster, or cylindrical dust brush designed for shades. Do not use magnetic cleaners such as a dusting mitt on light-dimming fabrics, as it will damage the backing.
Compressed Air/Hair Dryer: Use a can of compressed air or a hand-held hair dryer on the cool setting to blow off dust and debris.
Ultrasonic Cleaning: Professional ultrasonic cleaning is recommended for Sheer Verticals.
Injection/Extraction Cleaning: This type of cleaning injects a cleaning solution into the fabric and immediately extracts the dirty solution. The service is typically performed in the home.
Motorization: Press the button on the remote or PowerWand to raise and lower the shades, as well as adjust the band position.
Continuous Loop Control: Lowering the Shade: Hold the back of the cord loop and pull down until the shade reaches the desired position. Raising the Shade: Hold the front of the cord loop and pull down until the shade reaches the desired position.
Note: If the cord tensioner moves up the cord while operating, you have not secured it to the wall or window frame. You must do so for the shade to operate properly.
Solar Shield Blinds Banded Shades are 100% polyester and are treated to help resist dust, dirt, and stains.
Dusting: Dust your shades regularly using a feather-like duster or a cylindrical dust brush specially designed for shades.
Compressed Air/Hair Dryer: Use a can of compressed air or a hand-held hair dryer on the COOL setting to blow off dust and debris.
Ultrasonic Cleaning: Professional ultrasonic cleaning is recommended for Banded Shades.
Injection/Extraction Cleaning: This type of cleaning injects a cleaning solution into the fabric and immediately extracts the dirty solution. The service is typically performed in the home.
Note: Banded Shades should not be vacuumed or spot- cleaned.
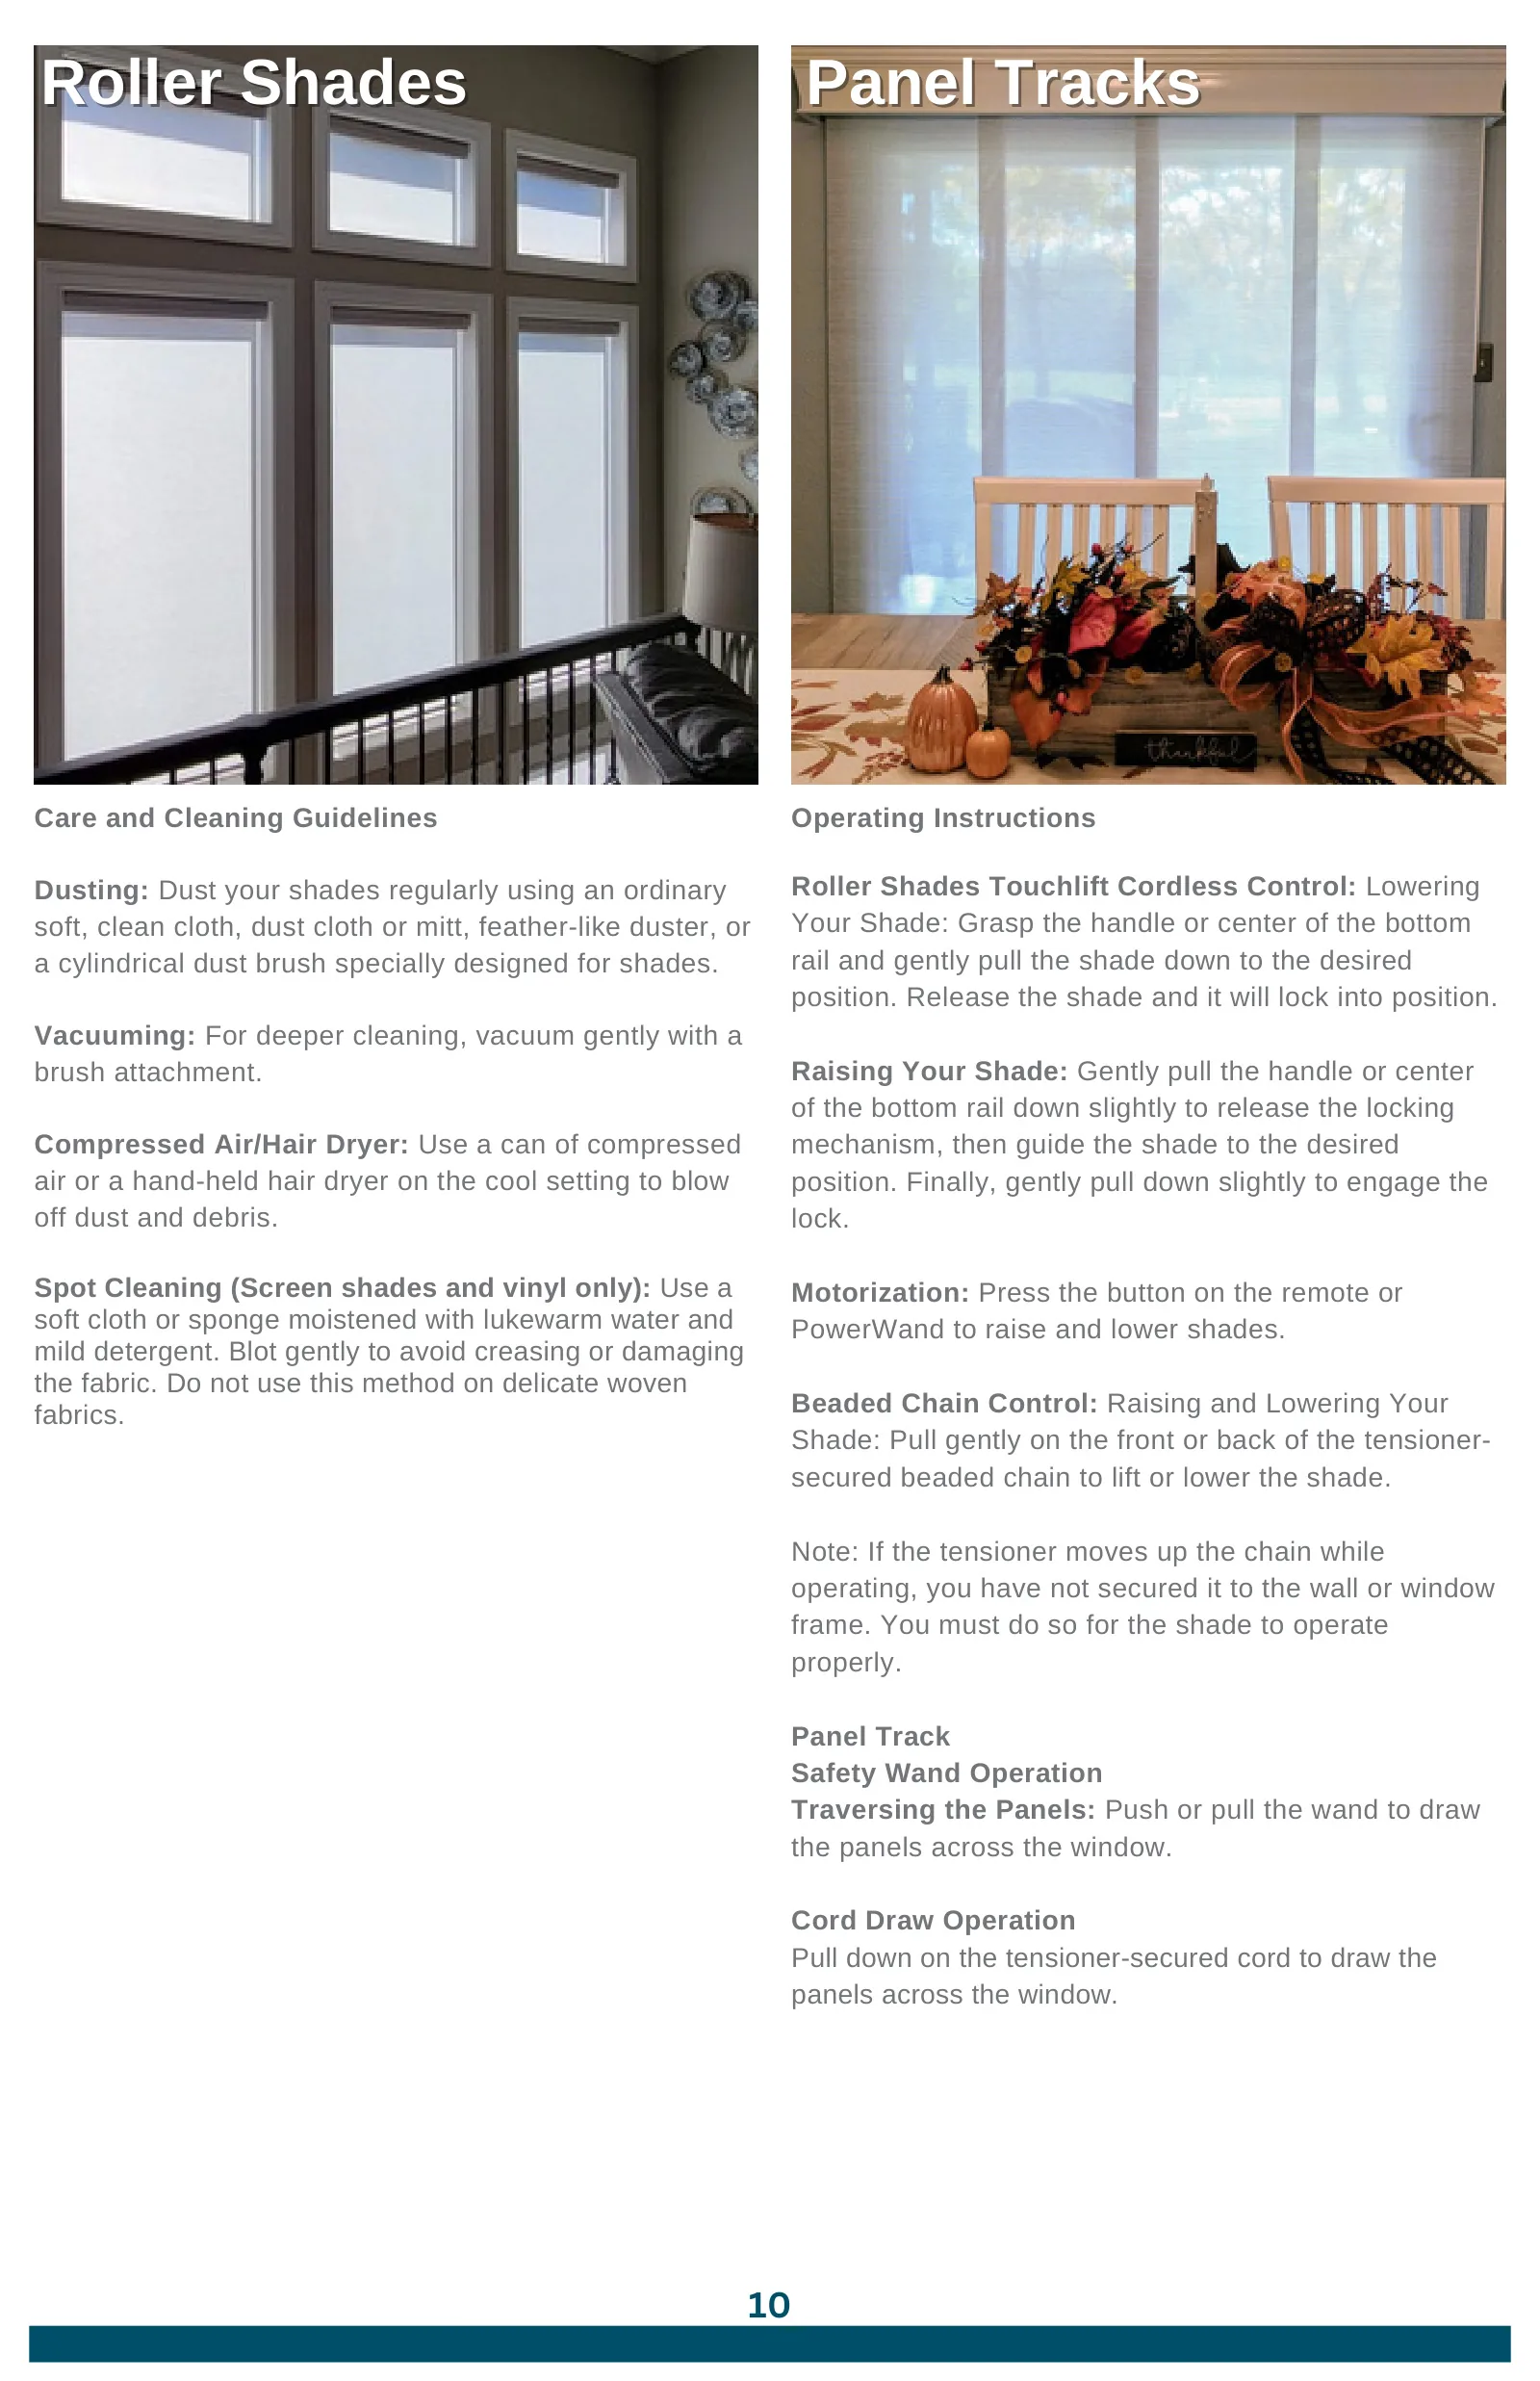
Roller Shades Roller Shades Panel Tracks Panel Tracks Roller Shades Panel Tracks
Dusting: Dust your shades regularly using an ordinary soft, clean cloth, dust cloth or mitt, feather-like duster, or a cylindrical dust brush specially designed for shades.
Vacuuming: For deeper cleaning, vacuum gently with a brush attachment.
Compressed Air/Hair Dryer: Use a can of compressed air or a hand-held hair dryer on the cool setting to blow off dust and debris.
Spot Cleaning (Screen shades and vinyl only): Use a soft cloth or sponge moistened with lukewarm water and mild detergent. Blot gently to avoid creasing or damaging the fabric. Do not use this method on delicate woven fabrics.
Roller Shades Touchlift Cordless Control: Lowering Your Shade: Grasp the handle or center of the bottom rail and gently pull the shade down to the desired position. Release the shade and it will lock into position.
Raising Your Shade: Gently pull the handle or center of the bottom rail down slightly to release the locking mechanism, then guide the shade to the desired position. Finally, gently pull down slightly to engage the lock.
Motorization: Press the button on the remote or PowerWand to raise and lower shades.
Beaded Chain Control: Raising and Lowering Your Shade: Pull gently on the front or back of the tensioner- secured beaded chain to lift or lower the shade.
Note: If the tensioner moves up the chain while operating, you have not secured it to the wall or window frame. You must do so for the shade to operate properly.
Panel Track Safety Wand Operation Traversing the Panels: Push or pull the wand to draw the panels across the window.
Cord Draw Operation Pull down on the tensioner-secured cord to draw the panels across the window.
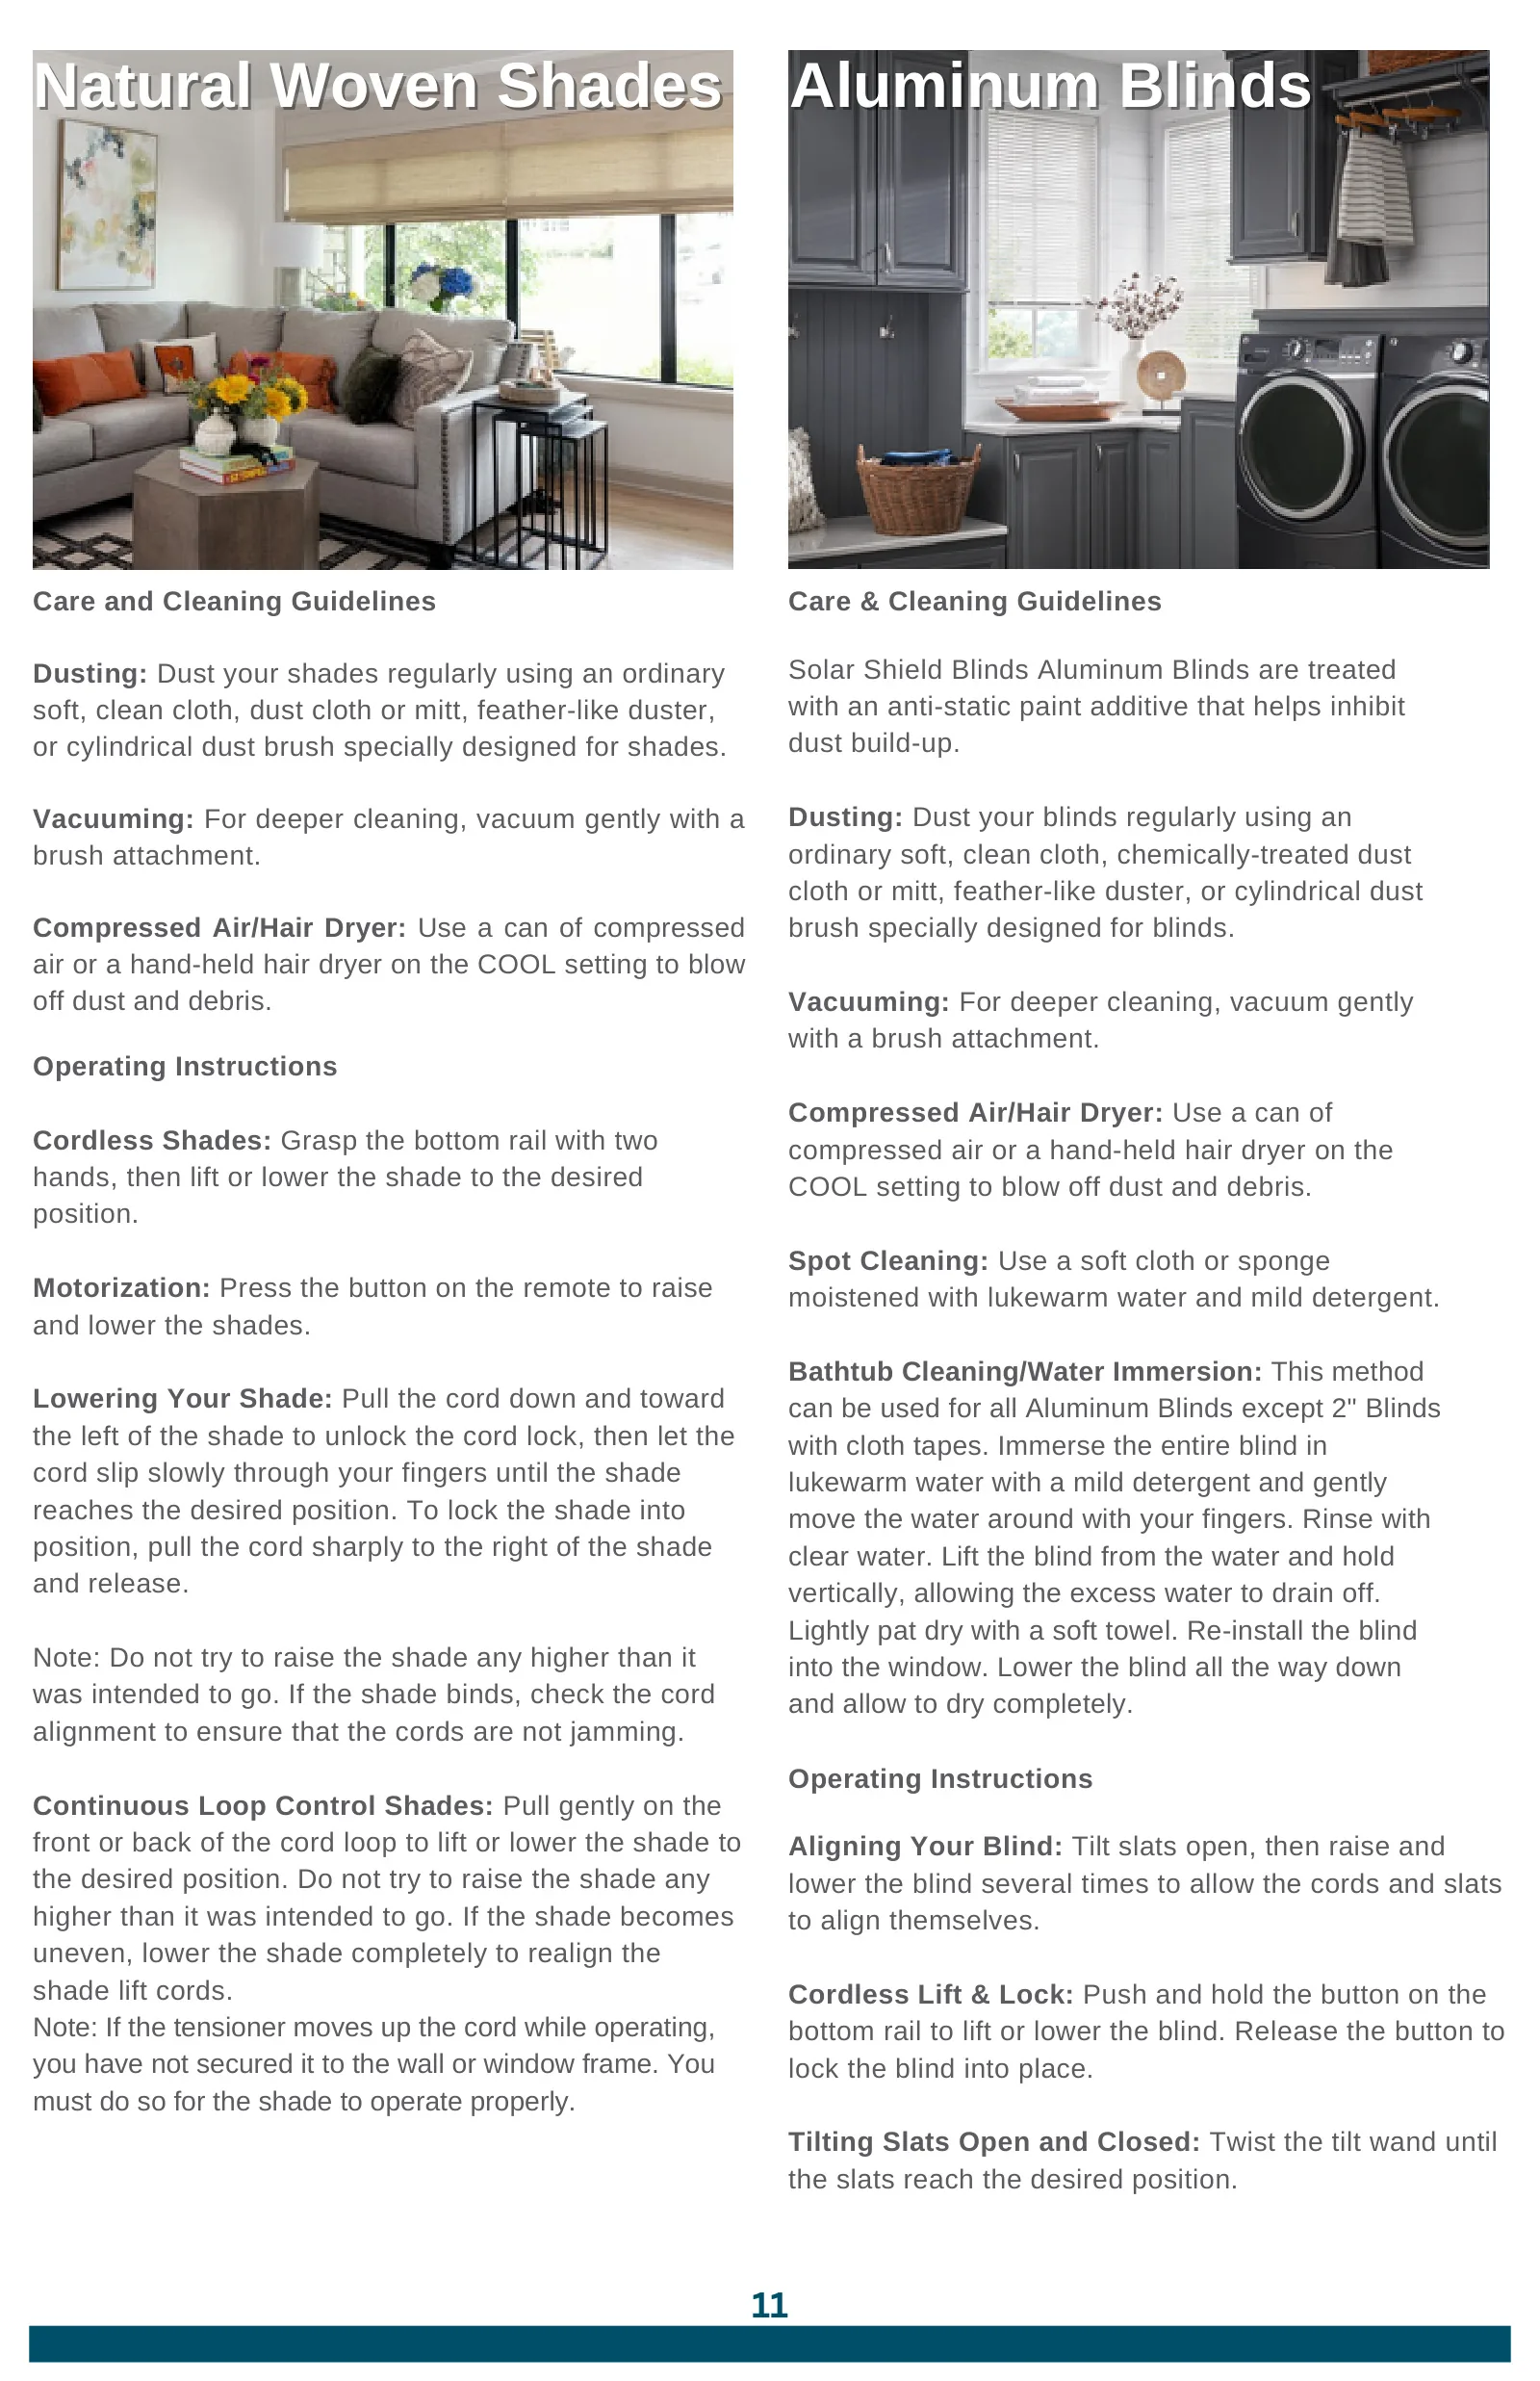
Natural Woven Shades Natural Woven Shades Natural Woven Shades Aluminum Blinds Aluminum Blinds Aluminum Blinds
Cordless Shades: Grasp the bottom rail with two hands, then lift or lower the shade to the desired position.
Motorization: Press the button on the remote to raise and lower the shades.
Lowering Your Shade: Pull the cord down and toward the left of the shade to unlock the cord lock, then let the cord slip slowly through your fingers until the shade reaches the desired position. To lock the shade into position, pull the cord sharply to the right of the shade and release.
Note: Do not try to raise the shade any higher than it was intended to go. If the shade binds, check the cord alignment to ensure that the cords are not jamming.
Continuous Loop Control Shades: Pull gently on the front or back of the cord loop to lift or lower the shade to the desired position. Do not try to raise the shade any higher than it was intended to go. If the shade becomes uneven, lower the shade completely to realign the shade lift cords. Note: If the tensioner moves up the cord while operating, you have not secured it to the wall or window frame. You must do so for the shade to operate properly.
Dusting: Dust your shades regularly using an ordinary soft, clean cloth, dust cloth or mitt, feather-like duster, or cylindrical dust brush specially designed for shades.
Vacuuming: For deeper cleaning, vacuum gently with a brush attachment.
Compressed Air/Hair Dryer: Use a can of compressed air or a hand-held hair dryer on the COOL setting to blow off dust and debris.
Aligning Your Blind: Tilt slats open, then raise and lower the blind several times to allow the cords and slats to align themselves.
Cordless Lift & Lock: Push and hold the button on the bottom rail to lift or lower the blind. Release the button to lock the blind into place.
Tilting Slats Open and Closed: Twist the tilt wand until the slats reach the desired position.
Solar Shield Blinds Aluminum Blinds are treated with an anti-static paint additive that helps inhibit dust build-up.
Dusting: Dust your blinds regularly using an ordinary soft, clean cloth, chemically-treated dust cloth or mitt, feather-like duster, or cylindrical dust brush specially designed for blinds.
Vacuuming: For deeper cleaning, vacuum gently with a brush attachment.
Compressed Air/Hair Dryer: Use a can of compressed air or a hand-held hair dryer on the COOL setting to blow off dust and debris.
Spot Cleaning: Use a soft cloth or sponge moistened with lukewarm water and mild detergent.
Bathtub Cleaning/Water Immersion: This method can be used for all Aluminum Blinds except 2" Blinds with cloth tapes. Immerse the entire blind in lukewarm water with a mild detergent and gently move the water around with your fingers. Rinse with clear water. Lift the blind from the water and hold vertically, allowing the excess water to drain off. Lightly pat dry with a soft towel. Re-install the blind into the window. Lower the blind all the way down and allow to dry completely.
Safety Wand Operation Rotating the Vanes: With the blind fully traversed across the window, twist the wand to the left or right to open or close vanes to the desired position. Traversing the Vanes: First, rotate the vanes to the fully open position. Then push or pull the wand to draw the vanes across the window.
Standard Cord and Chain Operation Rotating the Vanes: Pull gently on either of the beaded chains to tilt vanes open and closed. Traversing the Vanes: Ensure vanes are in the open position, then pull gently on the front or back of the cord loop to traverse the vanes across the window.
Dusting: Dust your blinds regularly using an ordinary soft, clean cloth, dust cloth or mitt, feather-like duster, or cylindrical dust brush specially designed for blinds.
Vacuuming: For deeper cleaning, vacuum gently with a brush attachment.
Compressed Air/Hair Dryer: Use a can of compressed air or a hand-held hair dryer on the COOL setting to blow off dust and debris.
Spot Cleaning: For Vinyl Blinds only, use a soft cloth or sponge moistened with lukewarm water and mild detergent. DO NOT USE this method on Fabric Blinds.
Ultrasonic Cleaning: Professional ultrasonic cleaning is recommended for Fabric Blinds only.
Injection/Extraction Cleaning: This type of cleaning injects a cleaning solution into the fabric and immediately extracts the dirty solution. The service is typically performed in the home.
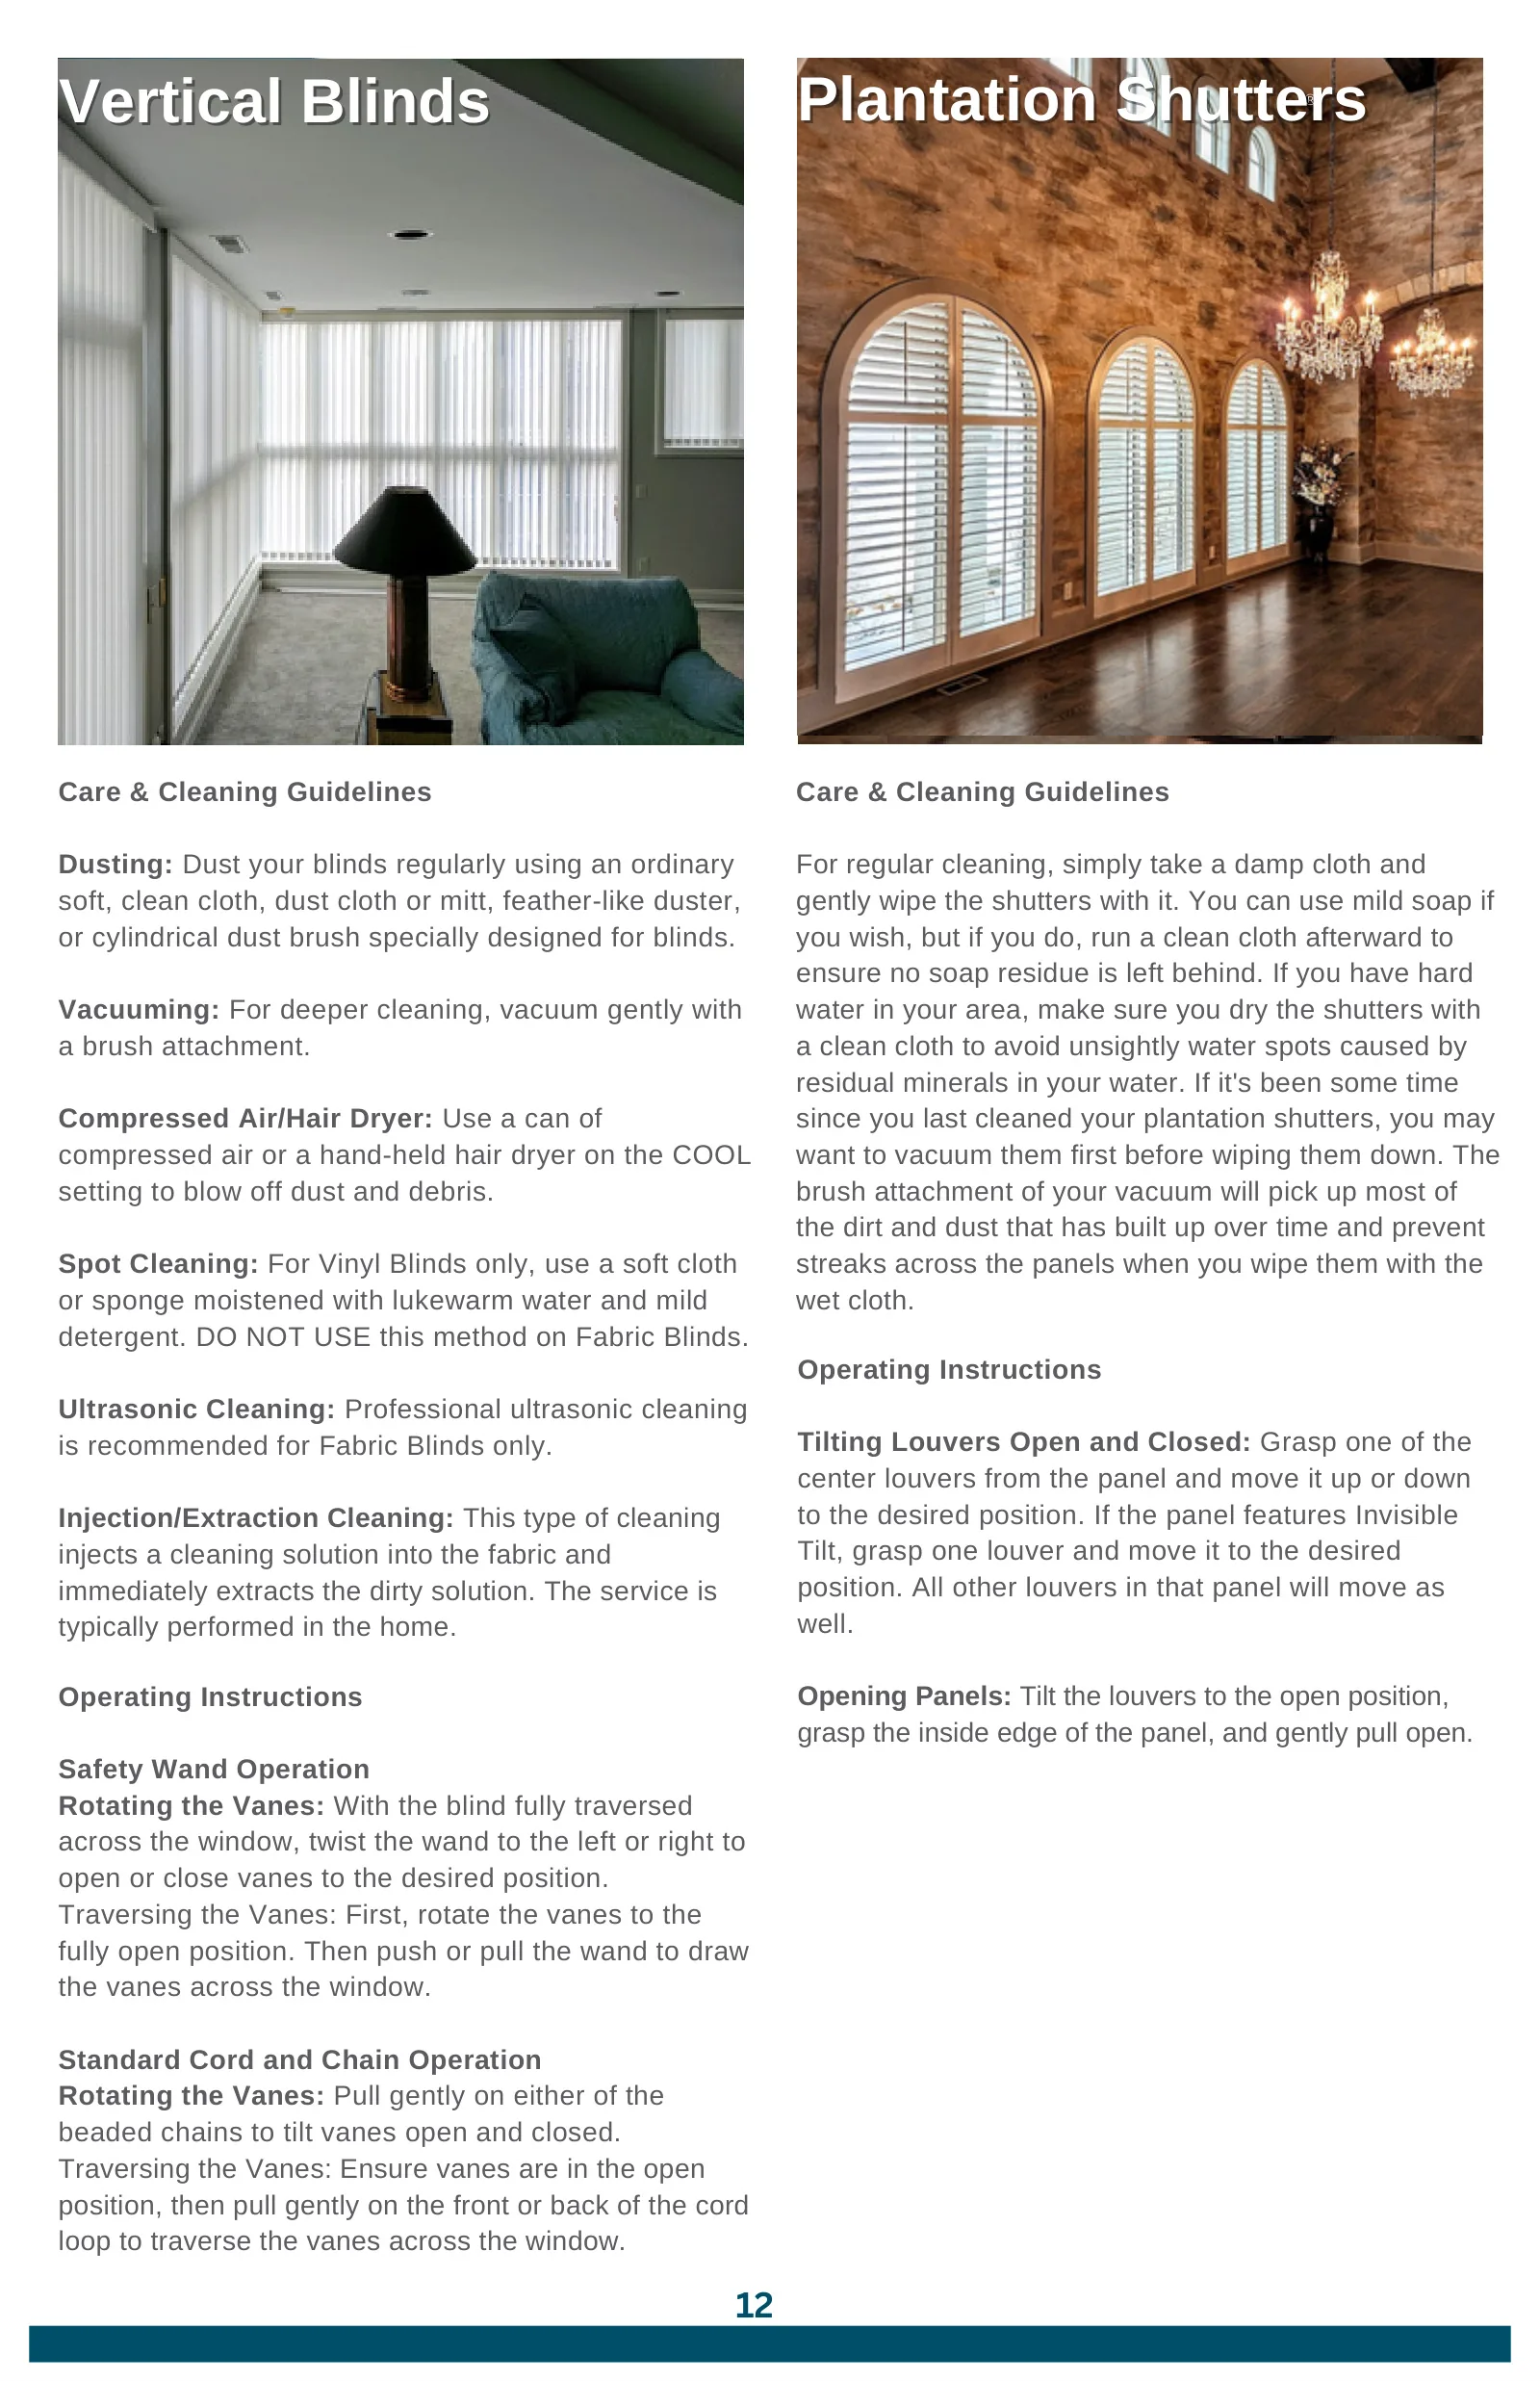
Tilting Louvers Open and Closed: Grasp one of the center louvers from the panel and move it up or down to the desired position. If the panel features Invisible Tilt, grasp one louver and move it to the desired position. All other louvers in that panel will move as well.
Opening Panels: Tilt the louvers to the open position, grasp the inside edge of the panel, and gently pull open.
For regular cleaning, simply take a damp cloth and gently wipe the shutters with it. You can use mild soap if you wish, but if you do, run a clean cloth afterward to ensure no soap residue is left behind. If you have hard water in your area, make sure you dry the shutters with a clean cloth to avoid unsightly water spots caused by residual minerals in your water. If it's been some time since you last cleaned your plantation shutters, you may want to vacuum them first before wiping them down. The brush attachment of your vacuum will pick up most of the dirt and dust that has built up over time and prevent streaks across the panels when you wipe them with the wet cloth.
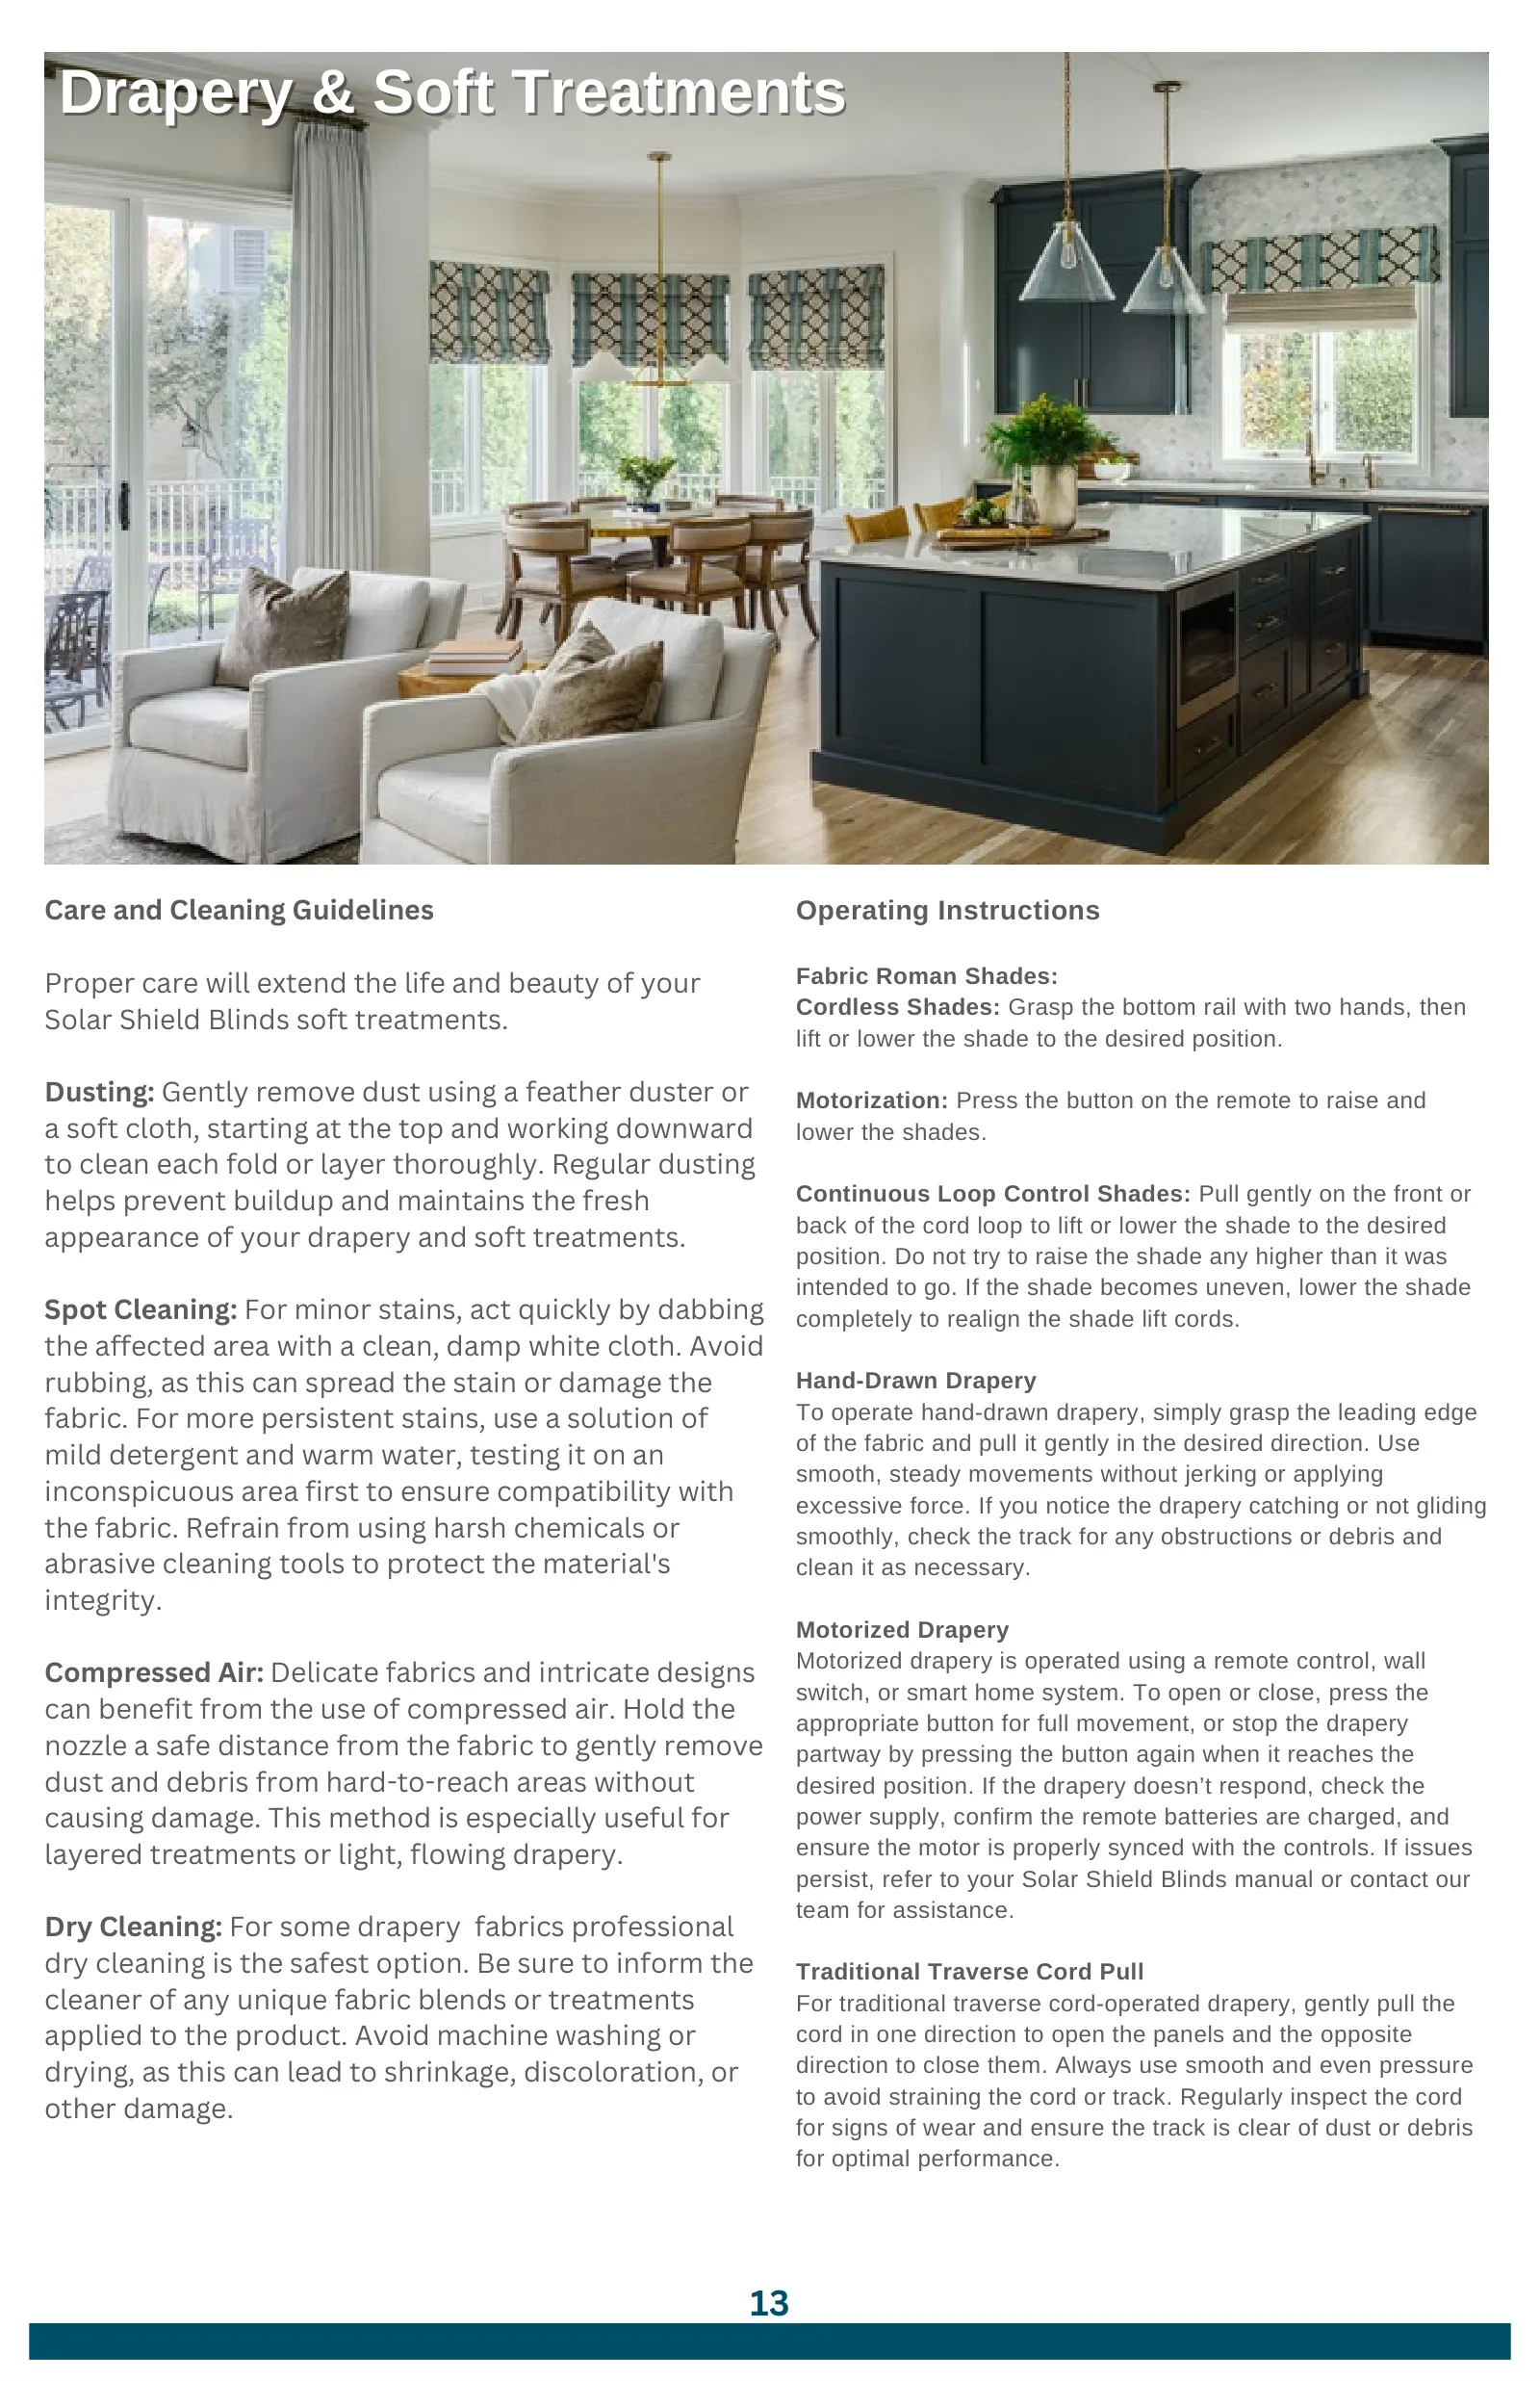
Drapery & Soft Treatments Drapery & Soft Treatments Drapery & Soft Treatments
Proper care will extend the life and beauty of your Solar Shield Blinds soft treatments.
Dusting: Gently remove dust using a feather duster or a soft cloth, starting at the top and working downward to clean each fold or layer thoroughly. Regular dusting helps prevent buildup and maintains the fresh appearance of your drapery and soft treatments.
Spot Cleaning: For minor stains, act quickly by dabbing the affected area with a clean, damp white cloth. Avoid rubbing, as this can spread the stain or damage the fabric. For more persistent stains, use a solution of mild detergent and warm water, testing it on an inconspicuous area first to ensure compatibility with the fabric. Refrain from using harsh chemicals or abrasive cleaning tools to protect the material's integrity.
Compressed Air: Delicate fabrics and intricate designs can benefit from the use of compressed air. Hold the nozzle a safe distance from the fabric to gently remove dust and debris from hard-to-reach areas without causing damage. This method is especially useful for layered treatments or light, flowing drapery.
Dry Cleaning: For some drapery fabrics professional dry cleaning is the safest option. Be sure to inform the cleaner of any unique fabric blends or treatments applied to the product. Avoid machine washing or drying, as this can lead to shrinkage, discoloration, or other damage.
Fabric Roman Shades: Cordless Shades: Grasp the bottom rail with two hands, then lift or lower the shade to the desired position.
Motorization: Press the button on the remote to raise and lower the shades.
Continuous Loop Control Shades: Pull gently on the front or back of the cord loop to lift or lower the shade to the desired position. Do not try to raise the shade any higher than it was intended to go. If the shade becomes uneven, lower the shade completely to realign the shade lift cords.
Hand-Drawn Drapery To operate hand-drawn drapery, simply grasp the leading edge of the fabric and pull it gently in the desired direction. Use smooth, steady movements without jerking or applying excessive force. If you notice the drapery catching or not gliding smoothly, check the track for any obstructions or debris and clean it as necessary.
Motorized Drapery Motorized drapery is operated using a remote control, wall switch, or smart home system. To open or close, press the appropriate button for full movement, or stop the drapery partway by pressing the button again when it reaches the desired position. If the drapery doesn’t respond, check the power supply, confirm the remote batteries are charged, and ensure the motor is properly synced with the controls. If issues persist, refer to your Solar Shield Blinds manual or contact our team for assistance.
Traditional Traverse Cord Pull For traditional traverse cord-operated drapery, gently pull the cord in one direction to open the panels and the opposite direction to close them. Always use smooth and even pressure to avoid straining the cord or track. Regularly inspect the cord for signs of wear and ensure the track is clear of dust or debris for optimal performance.
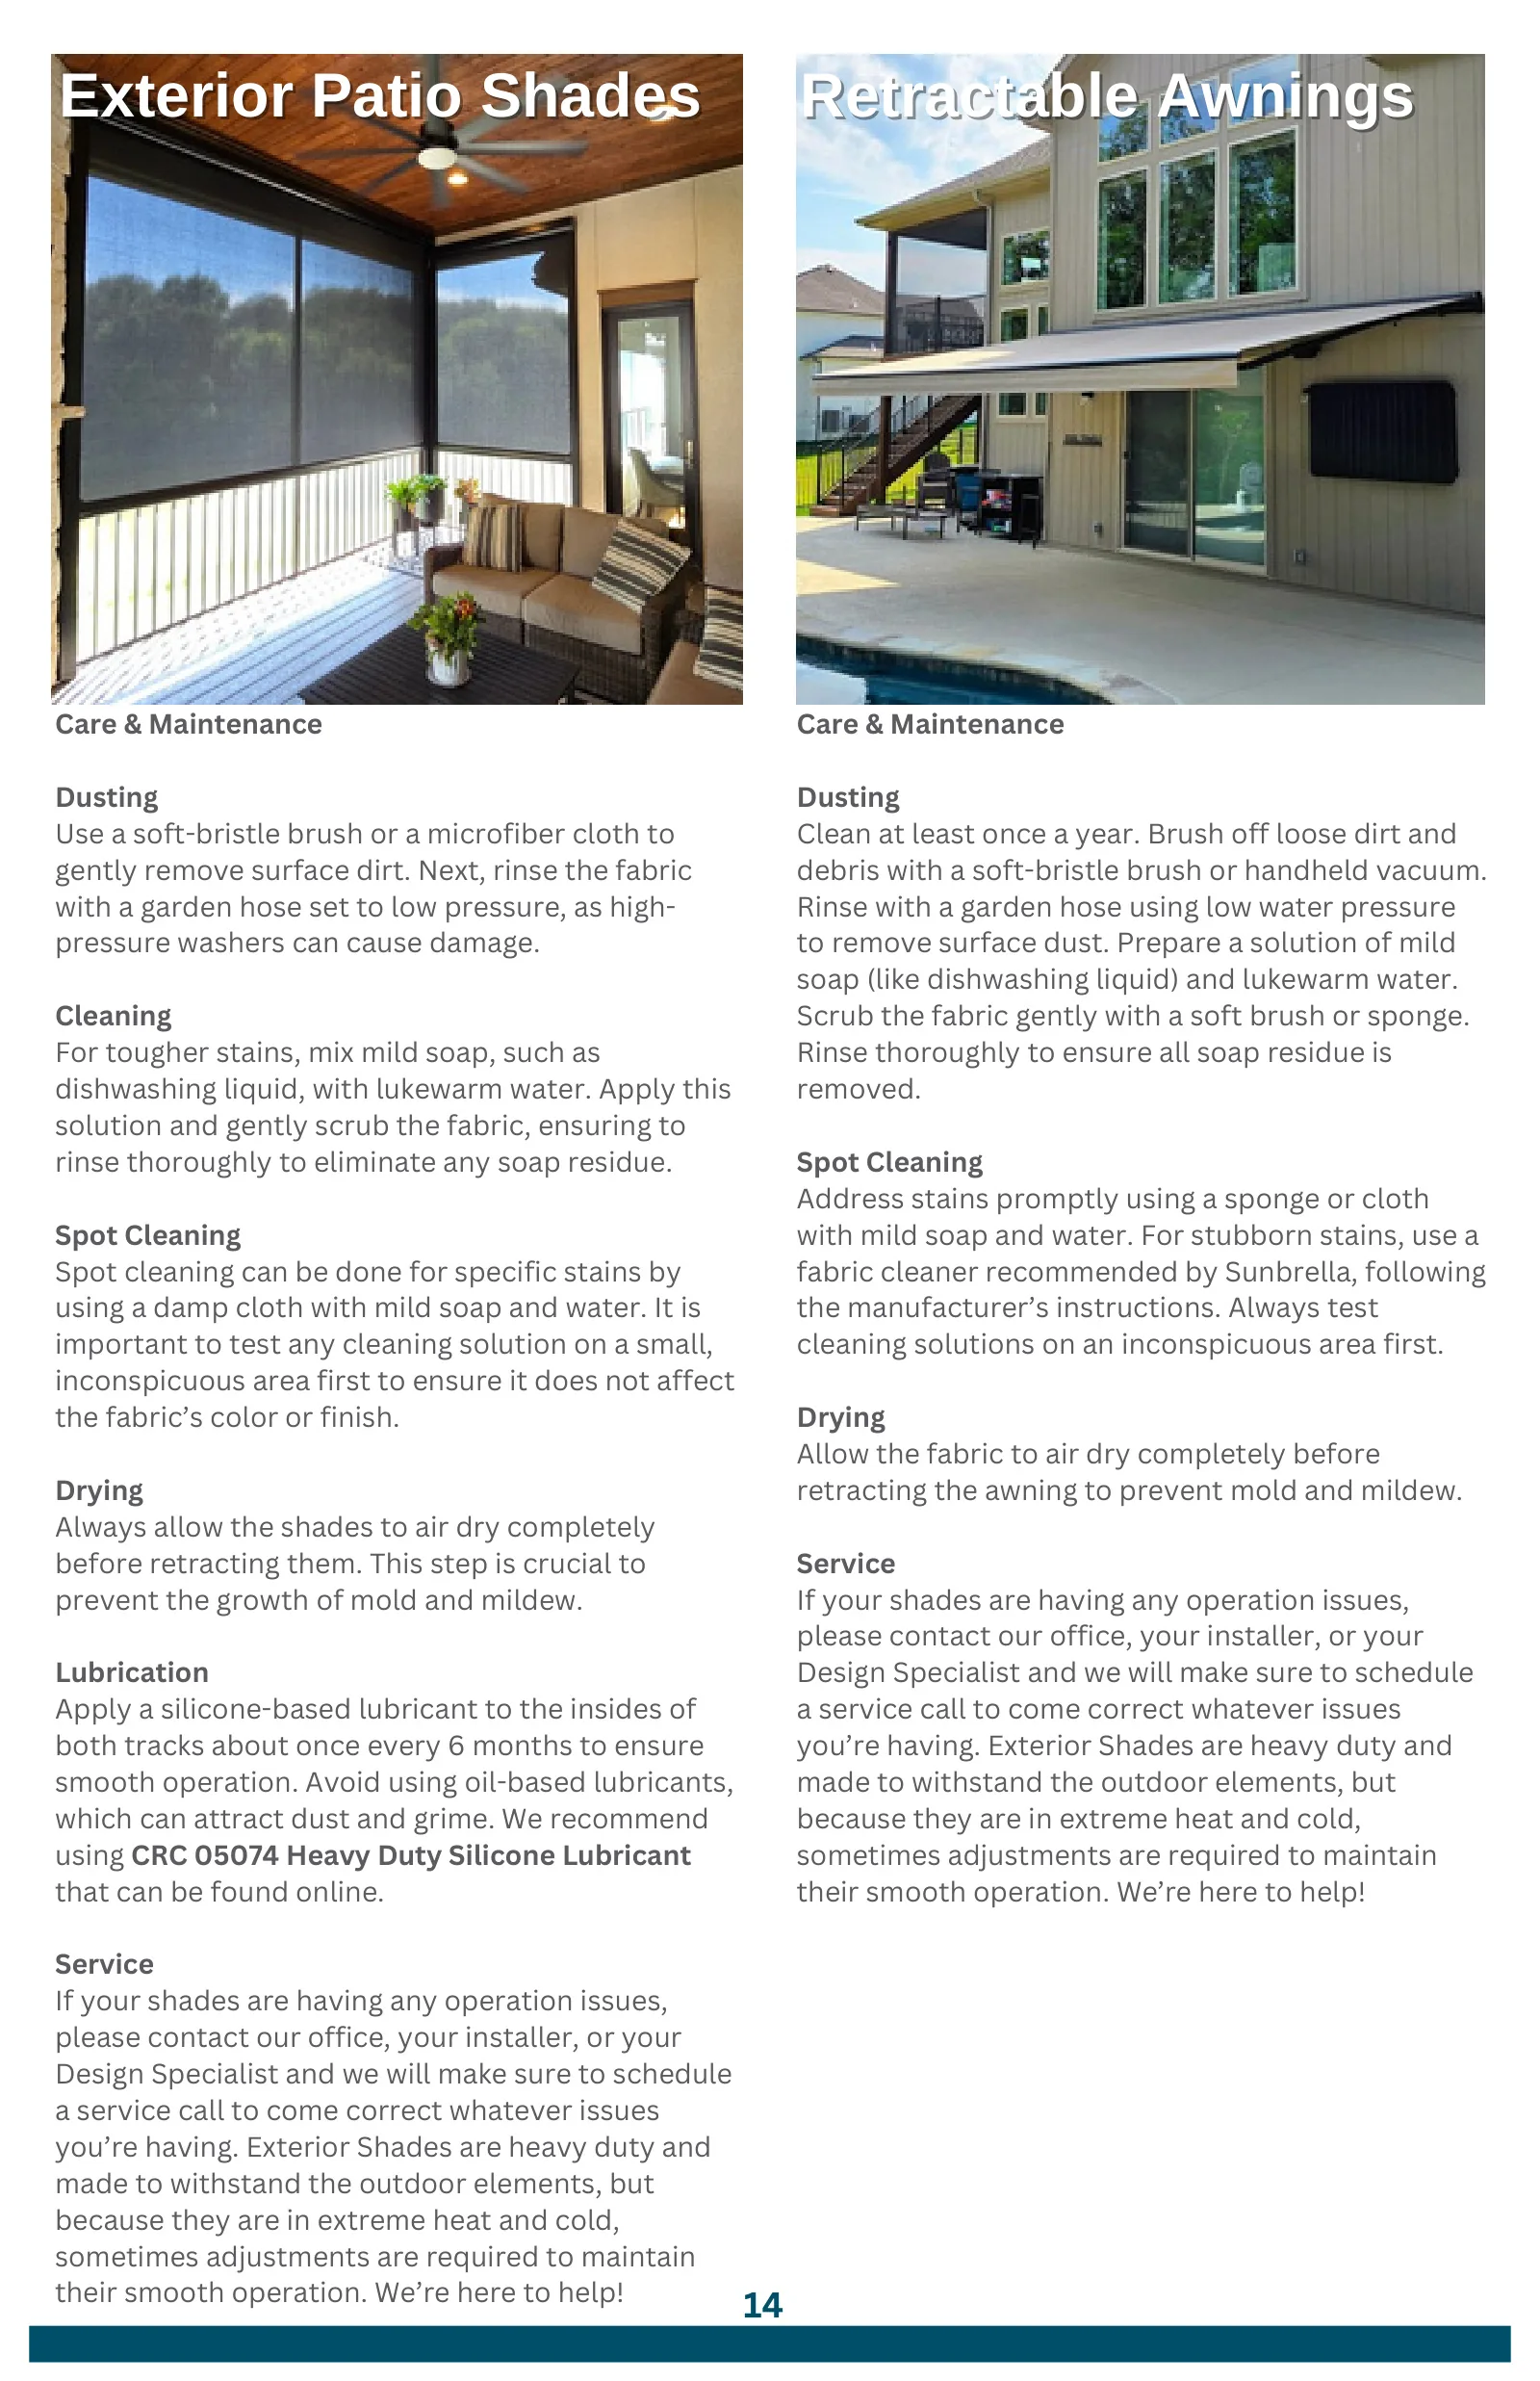
Exterior Patio Shades Exterior Patio Shades Exterior Patio Shades Retractable Awnings Retractable Awnings Retractable Awnings
Dusting Use a soft-bristle brush or a microfiber cloth to gently remove surface dirt. Next, rinse the fabric with a garden hose set to low pressure, as high- pressure washers can cause damage.
Cleaning For tougher stains, mix mild soap, such as dishwashing liquid, with lukewarm water. Apply this solution and gently scrub the fabric, ensuring to rinse thoroughly to eliminate any soap residue.
Spot Cleaning Spot cleaning can be done for specific stains by using a damp cloth with mild soap and water. It is important to test any cleaning solution on a small, inconspicuous area first to ensure it does not affect the fabric’s color or finish.
Drying Always allow the shades to air dry completely before retracting them. This step is crucial to prevent the growth of mold and mildew.
Lubrication Apply a silicone-based lubricant to the insides of both tracks about once every 6 months to ensure smooth operation. Avoid using oil-based lubricants, which can attract dust and grime. We recommend using CRC 05074 Heavy Duty Silicone Lubricant that can be found online.
Service If your shades are having any operation issues, please contact our office, your installer, or your Design Specialist and we will make sure to schedule a service call to come correct whatever issues you’re having. Exterior Shades are heavy duty and made to withstand the outdoor elements, but because they are in extreme heat and cold, sometimes adjustments are required to maintain their smooth operation. We’re here to help!
Dusting Clean at least once a year. Brush off loose dirt and debris with a soft-bristle brush or handheld vacuum. Rinse with a garden hose using low water pressure to remove surface dust. Prepare a solution of mild soap (like dishwashing liquid) and lukewarm water. Scrub the fabric gently with a soft brush or sponge. Rinse thoroughly to ensure all soap residue is removed.
Spot Cleaning Address stains promptly using a sponge or cloth with mild soap and water. For stubborn stains, use a fabric cleaner recommended by Sunbrella, following the manufacturer’s instructions. Always test cleaning solutions on an inconspicuous area first.
Drying Allow the fabric to air dry completely before retracting the awning to prevent mold and mildew.
Service If your shades are having any operation issues, please contact our office, your installer, or your Design Specialist and we will make sure to schedule a service call to come correct whatever issues you’re having. Exterior Shades are heavy duty and made to withstand the outdoor elements, but because they are in extreme heat and cold, sometimes adjustments are required to maintain their smooth operation. We’re here to help!
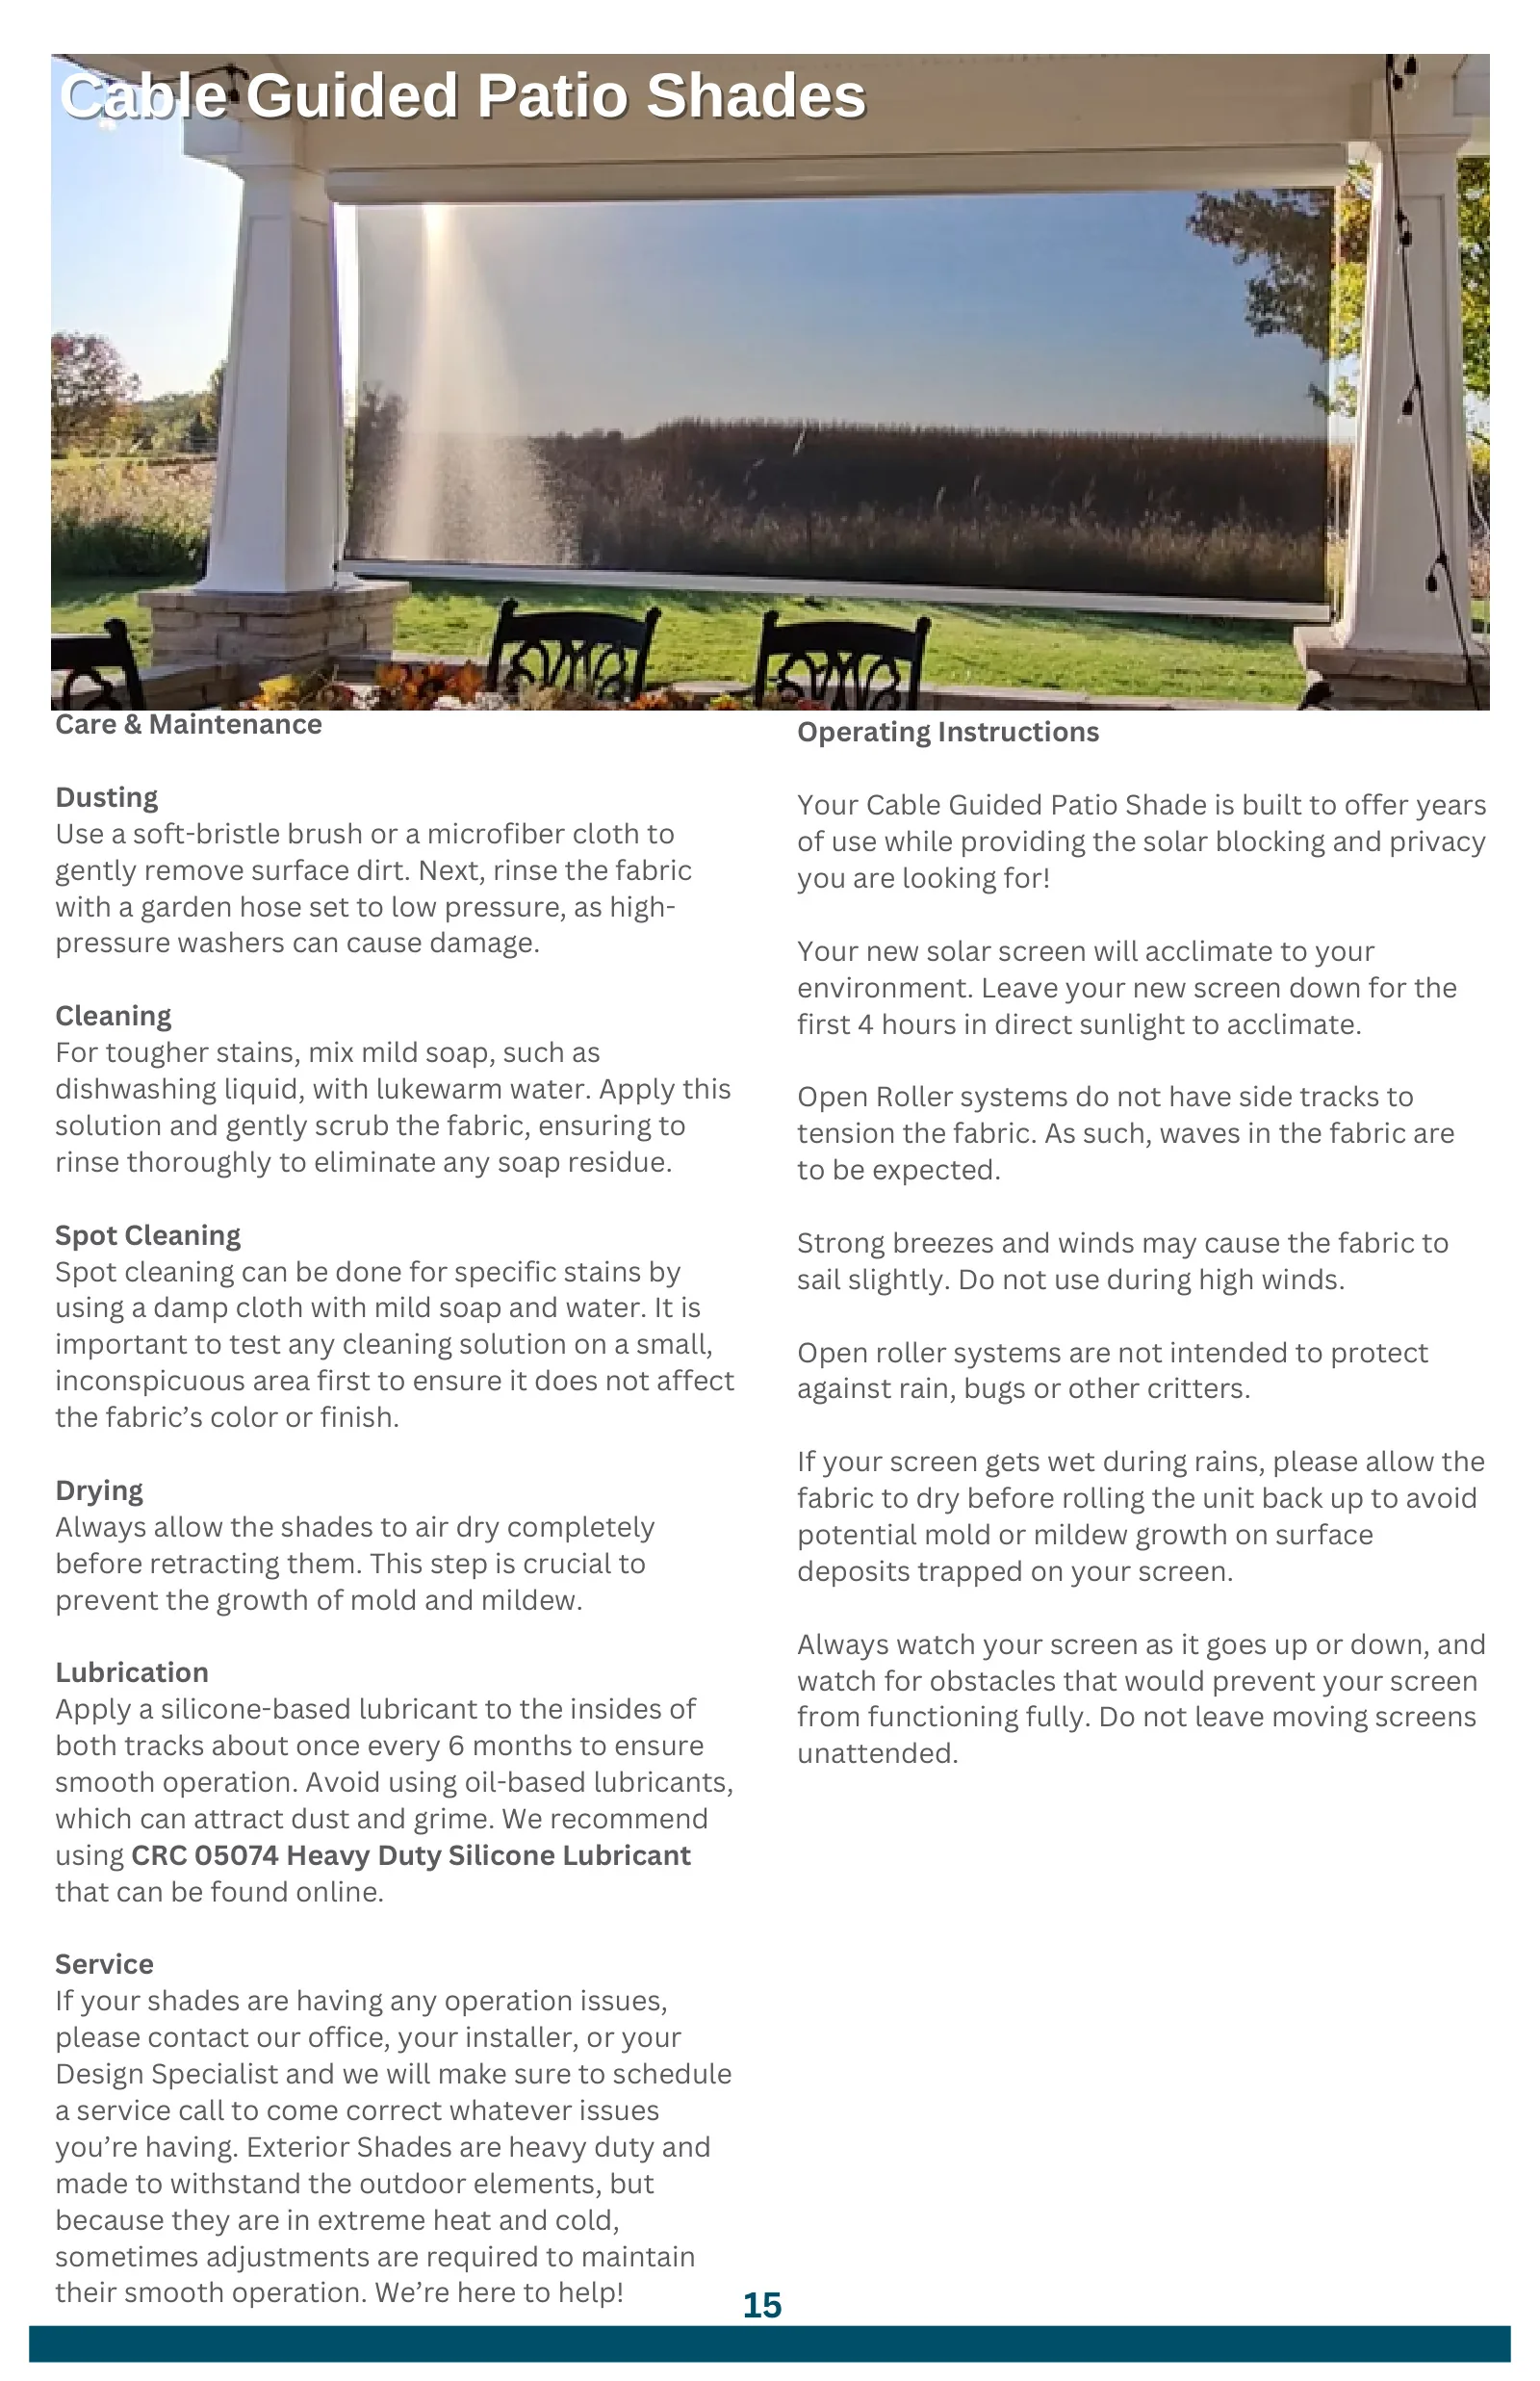
Cable Guided Patio Shades Cable Guided Patio Shades Cable Guided Patio Shades
Dusting Use a soft-bristle brush or a microfiber cloth to gently remove surface dirt. Next, rinse the fabric with a garden hose set to low pressure, as high- pressure washers can cause damage.
Cleaning For tougher stains, mix mild soap, such as dishwashing liquid, with lukewarm water. Apply this solution and gently scrub the fabric, ensuring to rinse thoroughly to eliminate any soap residue.
Spot Cleaning Spot cleaning can be done for specific stains by using a damp cloth with mild soap and water. It is important to test any cleaning solution on a small, inconspicuous area first to ensure it does not affect the fabric’s color or finish.
Drying Always allow the shades to air dry completely before retracting them. This step is crucial to prevent the growth of mold and mildew.
Lubrication Apply a silicone-based lubricant to the insides of both tracks about once every 6 months to ensure smooth operation. Avoid using oil-based lubricants, which can attract dust and grime. We recommend using CRC 05074 Heavy Duty Silicone Lubricant that can be found online.
Service If your shades are having any operation issues, please contact our office, your installer, or your Design Specialist and we will make sure to schedule a service call to come correct whatever issues you’re having. Exterior Shades are heavy duty and made to withstand the outdoor elements, but because they are in extreme heat and cold, sometimes adjustments are required to maintain their smooth operation. We’re here to help!
Your Cable Guided Patio Shade is built to offer years of use while providing the solar blocking and privacy you are looking for!
Your new solar screen will acclimate to your environment. Leave your new screen down for the first 4 hours in direct sunlight to acclimate.
Open Roller systems do not have side tracks to tension the fabric. As such, waves in the fabric are to be expected.
Strong breezes and winds may cause the fabric to sail slightly. Do not use during high winds.
Open roller systems are not intended to protect against rain, bugs or other critters.
If your screen gets wet during rains, please allow the fabric to dry before rolling the unit back up to avoid potential mold or mildew growth on surface deposits trapped on your screen.
Always watch your screen as it goes up or down, and watch for obstacles that would prevent your screen from functioning fully. Do not leave moving screens unattended.
Charging Your Shades Use the provided charging cable and plug it directly into the charging port on the motor head, located at the far end of the shade. Charge for six hours to achieve a full charge.
Battery Life A full charge lasts for approximately 500 cycles, which typically equates to 6 to 12 months of use under average conditions.
Remote Batteries The Bliss remote control uses standard AAA batteries, which are easy to replace as needed.
Using the Favorite Position To move your shade to the preset “favorite” position, press and hold the stop button on the remote for three seconds. The shade will automatically adjust to the programmed position.
Changing the Favorite Position Stop the shade at the desired location. Remove the battery cover from the remote and press the P2 button once. After the shade jogs up and down, press the stop button twice with a brief pause in between each press. Repeat this process again to confirm. The new favorite position is now saved.
For further technical assistance Contact Solar Shield Blinds’ support team.
1. You’ll Love It Guarantee - If you don’t love your new window coverings in the first 30 days (from date of install) we will replace it with a different product of equal or lesser value. Product replacement must be a different product and you will be responsible for any extra charges if you select a new product that costs more than your original purchase amount. This guarantee does not apply to fabric or color selections. *Excludes exterior shades
2. Solar Shield Blinds 5 Year Service Guarantee - We’re proud to include this coverage on every single product we provide and install. If after install you find any defects with your products or problems with the installation, we will return to resolve the issue within the first 5 years free of charge. No complaints or arguments from us, we guarantee it!
3. “Life Happens” Guarantee - This covers your products for 5 years for one event of any unintentional damage. From flying soccer balls to new puppies, your investment is protected by this amazing guarantee. When life happens, we’re here to help!
4. Lifetime Guarantee - All of our products will be free from defects in materials and workmanship for as long as you own your window coverings. If your product should fail to perform as intended, contact us to schedule a free inspection. This warranty does not cover normal wear and tear, sun fading, color fastness, or damage caused by poor conditions near the windows. You will never be asked to contact a third party, ever!
5. Transferable Guarantee - In the event you sell your home you can transfer the Lifetime Guarantee above to the new owner and the guarantee will continue to be upheld. Coverage is based on the address, so no paperwork is required to transfer.
6. 180-Day Price Guarantee - Your quoted price is good for 180 days from the date of your original quote. Please note that occasionally, when manufacturers offer extra discounts with specific expiration dates, those extra discounts on your quote are only valid through the manufacturer's expiration date. If this applies to your quote, your Design Specialist will discuss that with you. We want you to have peace of mind when making your decision and not be rushed or pressured by arbitrary quote expiration dates. *Market changes, such as tariffs or increased material costs outside our control could impact quotes and will be discussed if they impact your quote.
7. Best Price Guarantee - Solar Shield Blinds will match any price for the same custom product and service. COMPARISON SHOP FOR 30 DAYS FROM DATE OF ORDER. If you find a comparable product, brand, model, and quality offered to you with equivalent service and installation, just provide a written quote and we will gladly refund you 100% of the difference. *A full copy of the quote is required for review.
Our ‘Client First’ Solar Shield Blinds Carefree Guarantee Includes: